
Choose your board and tools
The foundation of a successful cheese board lies in the surface you serve it on. A well-chosen board does more than hold Camembert, Taleggio, and Romano; it sets the visual tone for the entire spread. When selecting personalized cheese boards, prioritize material and size over decoration. Wood is the traditional standard because it is gentle on knife blades and adds warmth to the presentation. Stone or marble offers a cool, elegant contrast but requires specific knives to avoid dulling the edges. For a home gathering, a board that is 18 to 24 inches long provides enough room to arrange three distinct cheeses alongside crackers and garnishes without feeling cramped.
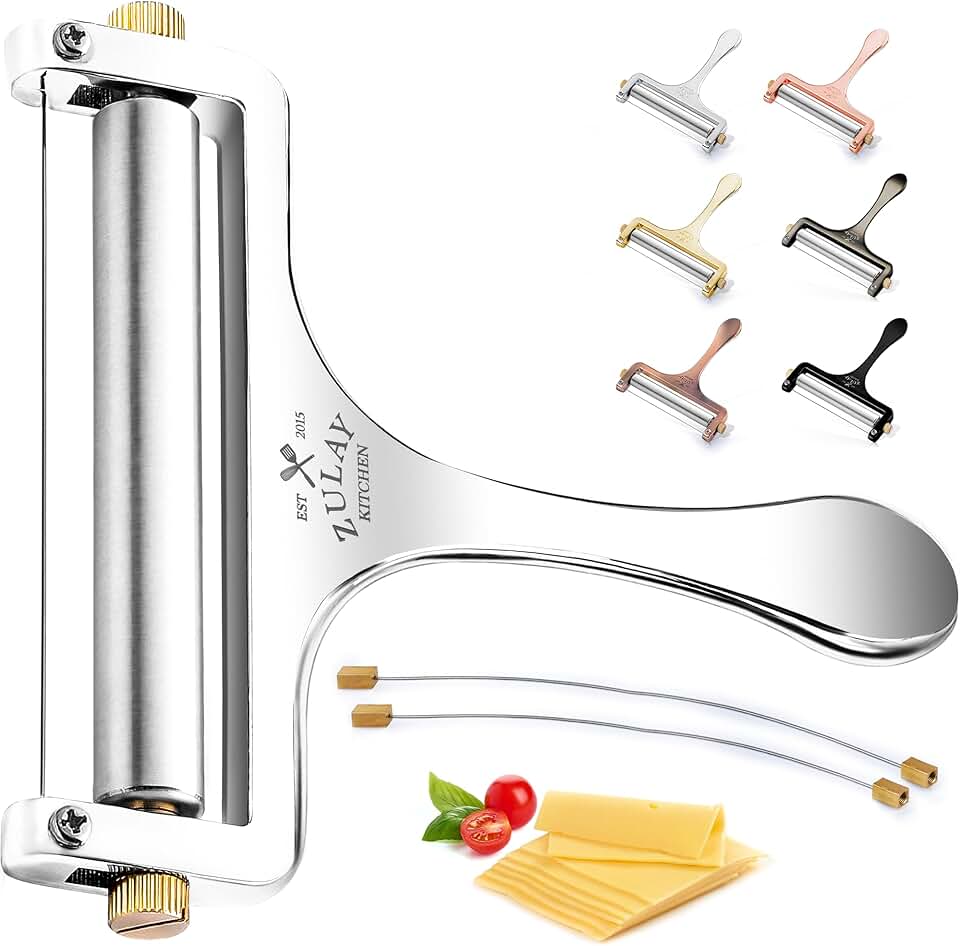
Equally important is the cutting tool. Soft cheeses like Camembert and Taleggio require a wire cheese slicer or a flexible spreading knife to cut cleanly without crushing the rind. Harder cheeses like Romano need a sturdy, pointed cheese knife to break through the crust. Avoid using standard kitchen knives, which can tear the soft textures and make serving difficult. A dedicated cheese knife set ensures each cheese is presented in its best form, maintaining the integrity of the flavors and textures you have carefully selected.

As an Amazon Associate, we may earn from qualifying purchases.
Prepare the Camembert and Taleggio
Soft cheeses like Camembert and Taleggio are the heart of any personalized cheese board, but they demand gentle handling to maintain their structure and flavor. Unlike hard cheeses, these wheels and wedges can easily crumble or lose their creamy texture if cut incorrectly. The goal is to expose the maximum surface area of the rind and paste, allowing guests to experience the full spectrum of flavor in every bite.
Cut the Camembert
Start with a Camembert that has been brought to room temperature. Cold Camembert is waxy and difficult to slice; it should feel slightly yielding to the touch. Place the wheel on your cutting board and slice it into quarters or wedges, similar to cutting a pie. For a more elegant presentation, you can cut each wedge in half lengthwise to create thinner slices. Ensure you cut through the rind cleanly to avoid crushing the soft interior.

Use a sharp knife to cut the Camembert wheel into quarters or eighths. Clean the blade between cuts to keep the slices neat.
Place the wedges directly on the board. The rind should face outward for a clean look, or inward if you prefer to highlight the creamy interior.
Slice the Taleggio
Taleggio is a washed-rind cheese with a sticky, pungent aroma and a semi-soft texture. It is often sold in rectangular wedges rather than wheels. To serve it, cut the wedge into thin, uniform slices. Because Taleggio can be slightly sticky, dip your knife in warm water and wipe it dry between cuts. This simple trick prevents the cheese from tearing and ensures clean, professional-looking slices.

Dip a sharp chef’s knife or slicing knife in warm water. Wipe it dry before making the first cut to prevent the Taleggio from sticking.
Slice the Taleggio wedge into thin pieces. Arrange them in a fan or overlap them slightly on the board to showcase their pale yellow interior.
Final Arrangement Tips
Once your Camembert and Taleggio are cut, place them on the board strategically. Soft cheeses should be positioned where they are easily accessible but not crowded by heavier items like crackers or meats. If you are using a personalized cheese board with specific compartments or engravings, use the space to balance the visual weight of the different textures. Remember, the softer the cheese, the more it benefits from being cut just before serving to maintain its optimal consistency.
Add the Romano and crunch elements
Now that the soft, creamy Camembert and Taleggio are in place, you need to introduce contrast. Romano is a hard, aged cheese with a sharp, salty bite that cuts through the richness of the softer cheeses. It acts as the anchor of the board, providing a flavor intensity that balances the mild, buttery notes of the previous steps.
Grate the Romano
Unlike the soft cheeses, Romano is best served grated or shaved over the board rather than in large wedges. This allows its flavor to distribute evenly among the other elements. Use a microplane or a fine grater to create delicate snowfalls of cheese over the center of the board or near the crackers.
Fill in the gaps with crunch
The final layer of texture comes from the crunchy elements. These items provide the necessary structural contrast to the soft cheeses and prevent the board from feeling one-dimensional. Think of these as the "crisp" notes in your flavor symphony.
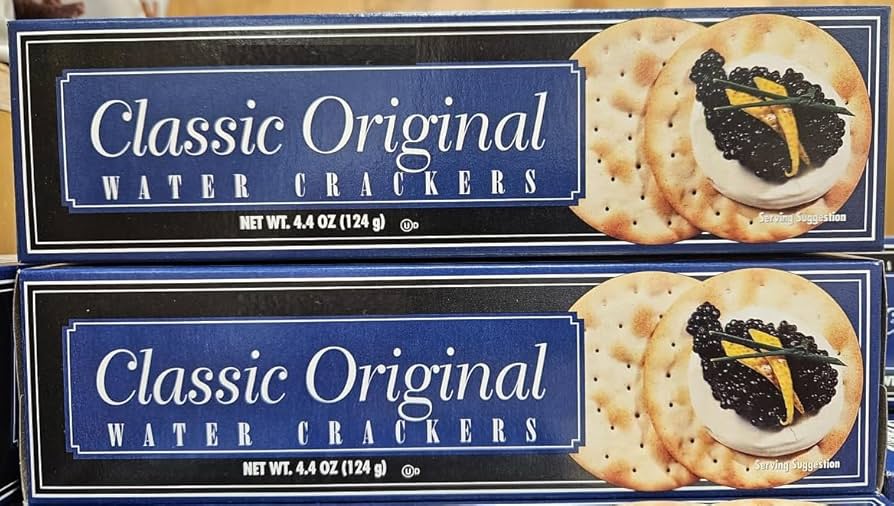
- Water crackers or plain crisps: These neutral vehicles let the sharp Romano and creamy Taleggio shine without competing with their own flavors.
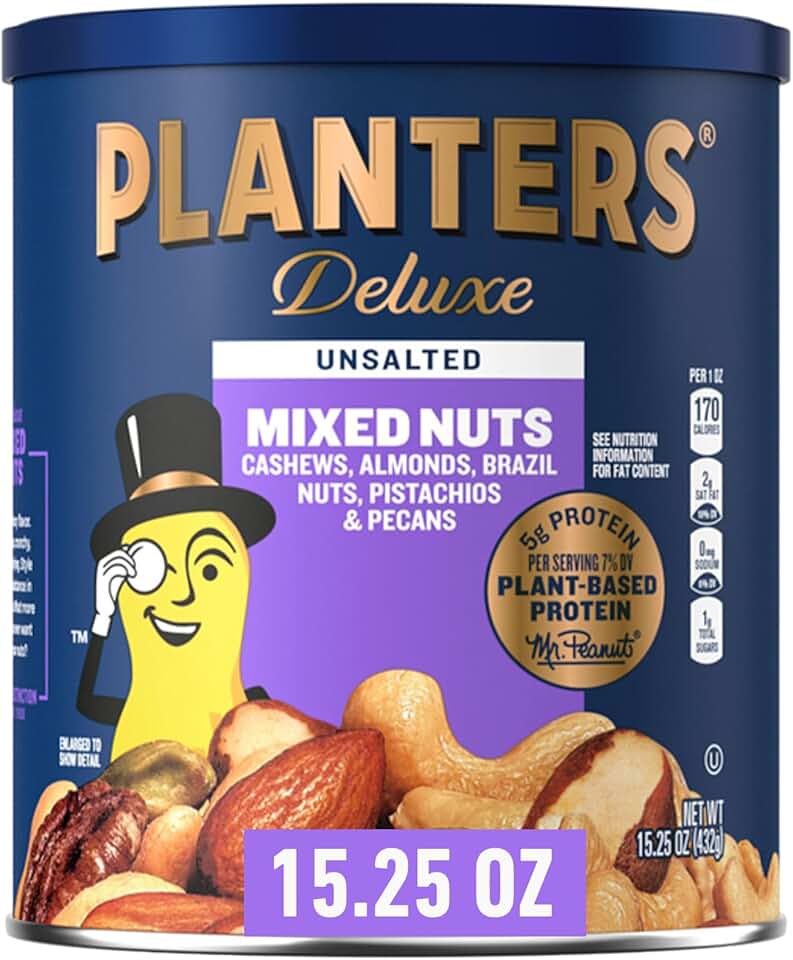
- Toasted nuts: Walnuts, almonds, or pecans add an earthy crunch and a touch of natural fat that pairs well with aged cheese.
- Pickled vegetables: Cornichons, pickled onions, or giardiniera offer a sharp, acidic crunch that cleanses the palate between bites.
Final arrangement
Tuck the crunchy elements into any remaining empty spaces. Scatter the nuts loosely around the cheese mounds and place the crackers in small, manageable stacks or fanned out for easy access. The goal is a balanced distribution where every bite can potentially include a soft cheese, a sharp Romano, and a crunchy component.
As an Amazon Associate, we may earn from qualifying purchases.
Arrange for visual balance
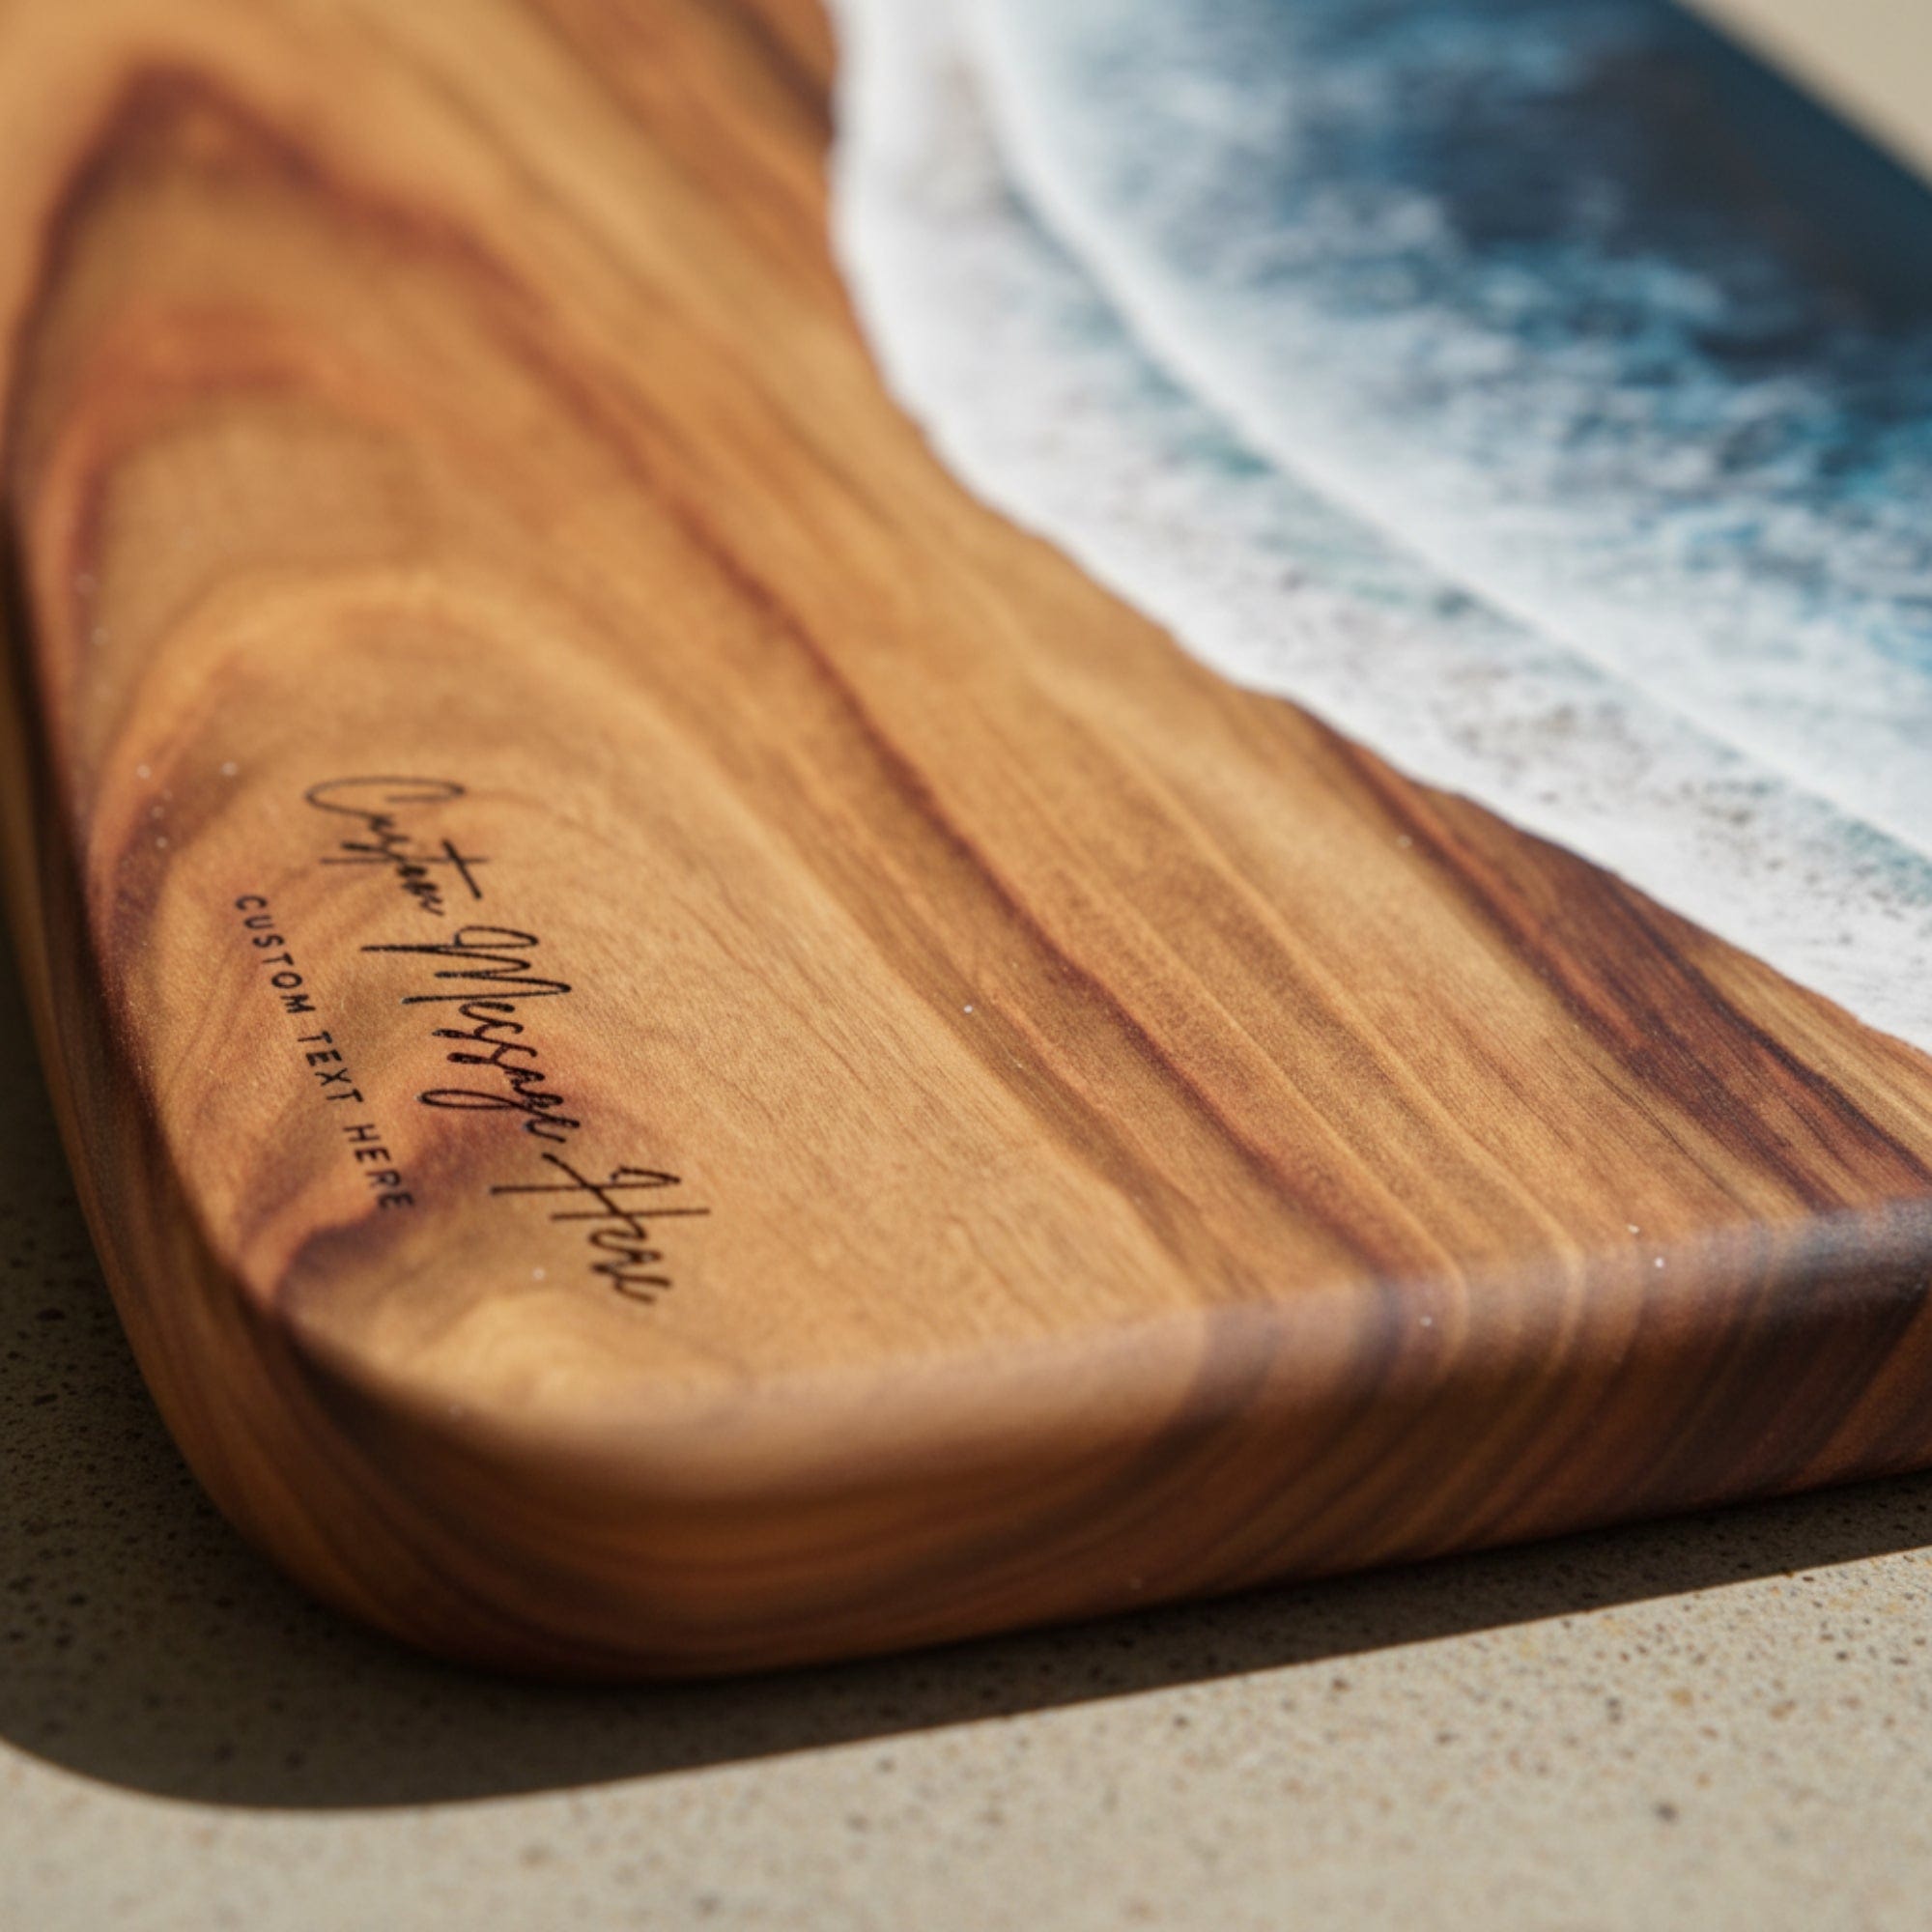
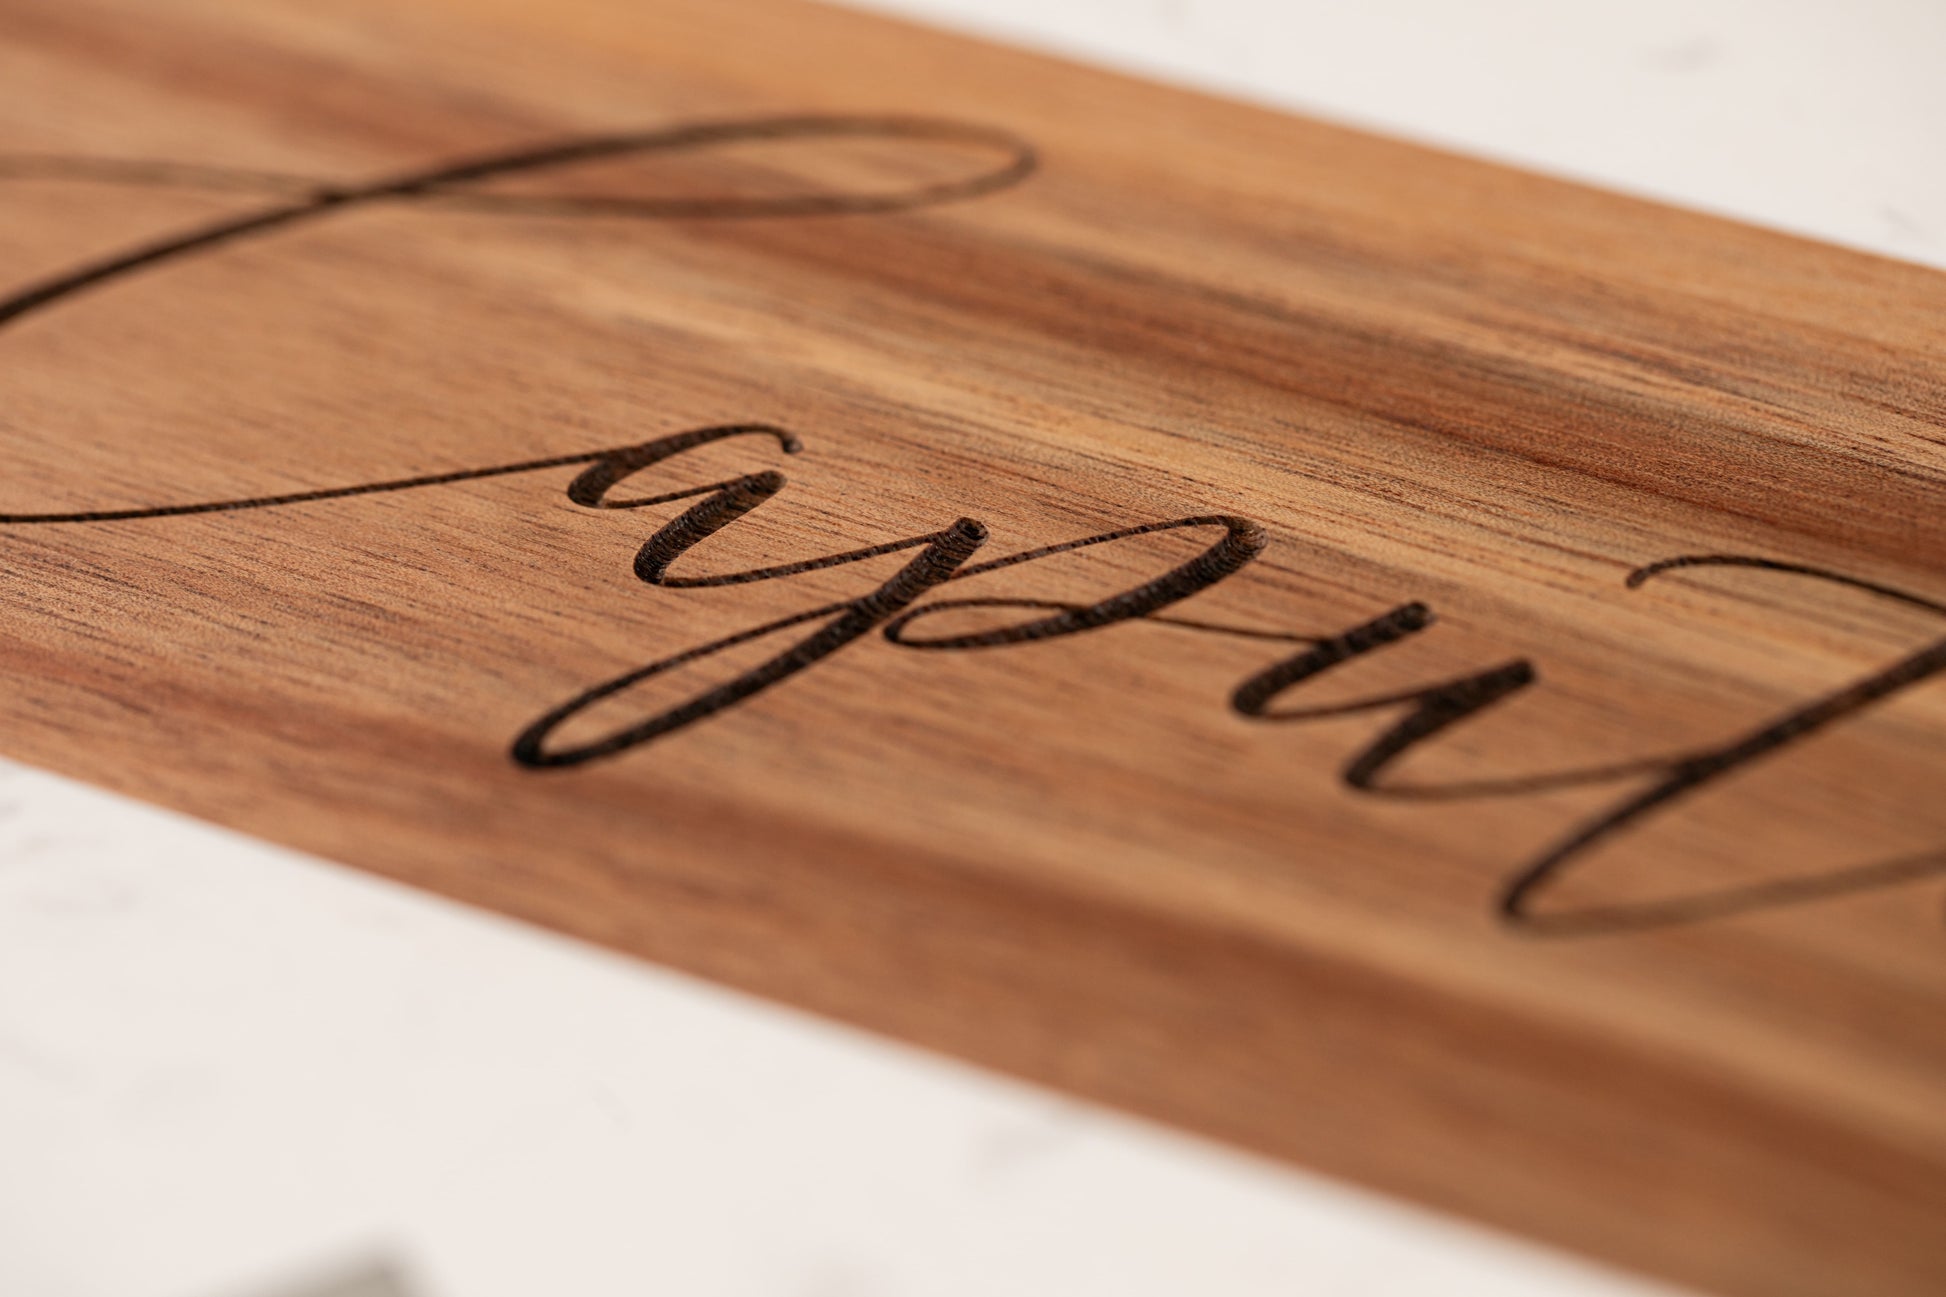
A personalized cheese board is meant to be seen. The engraving on your board sets the tone, so the arrangement should highlight that feature rather than bury it under a pile of snacks. Think of the board as a stage: the cheese and accompaniments are the performers, and the engraved name or design is the spotlight.
Start by placing the cheeses. Position the Camembert, Taleggio, and Romano so they are spread out, not clustered. Leave enough space between each wedge so guests can easily reach for a piece without disturbing the others. This spacing also lets the wood grain and the engraving show through, keeping the board looking open and inviting.
Next, add the accompaniments. Fill the gaps with crackers, nuts, or fruit, but keep the portions modest. You want a balanced look, not a crowded one. If you have multiple types of crackers, group them together in small piles or fan them out. This creates visual rhythm and makes it easier for guests to find what they like.
Finally, step back and check the balance. Is the board too heavy on one side? Move items around until the weight feels even. The goal is a natural, effortless look that draws the eye to the center of the board and the personalized engraving. A well-arranged board feels like an invitation to gather, not a challenge to navigate.
Choose the Right Personalized Cheese Board Style
Selecting the right base for your camembert, taleggio, and romano trio depends on how you plan to serve and store your board. The material dictates not just the aesthetic, but the functionality of your personalized cheese board. Wood offers warmth and knife-friendliness, marble provides a cool surface for soft cheeses, and mixed-material designs combine utility with visual interest.
The following table compares the most common board types to help you decide which fits your hosting style and budget.
Wooden boards are the traditional choice for a reason. They are gentle on knife blades, which keeps your cheese-cutting tools sharp, and they provide a warm, inviting backdrop for hard cheeses like romano. However, wood requires regular maintenance with food-safe mineral oil to prevent cracking and bacterial growth. If you choose wood, expect to spend a bit more on care products over time.
Marble boards keep soft cheeses like camembert and taleggio firm and cool, which is ideal if you are serving in a warm room or planning to leave the board out for an extended period. The downside is that marble is hard on knives and can stain if exposed to acidic foods like wine or fruit juice for too long. It also tends to be heavier and more fragile than wood.
Mixed-material boards offer the best of both worlds, often featuring a marble section for soft cheeses and a wooden section for hard cheeses and crackers. This design allows you to segment your personalized cheese board naturally without needing separate platters. While these boards are often the most expensive option, they reduce the need for multiple serving pieces and create a sophisticated, curated look that impresses guests.
Final checklist for your board
Before you bring the table, run through this quick list to ensure your personalized cheese board is ready for serving. The goal is to balance flavors, textures, and visual appeal while keeping everything at the right temperature.
- Cheese temperature: Take Camembert, Taleggio, and Romano out of the refrigerator 30–60 minutes before serving. Cold cheese mutes flavor; room temperature allows the aromas to open up.
- Cutting strategy: Slice the Camembert and Taleggio into wedges or small cubes. Leave the Romano in chunks or grate it lightly for texture contrast.
- Accompaniments: Arrange crackers, nuts, fresh fruit, and honey or jam in small clusters around the cheeses. This creates visual interest and makes it easy for guests to mix flavors.
- Tools: Place a separate knife for each cheese (especially the soft Camembert and Taleggio) to prevent flavor transfer. Include a small plate for rinds if needed.
- Presentation: Use your personalized board as the centerpiece. Ensure there is enough space for guests to reach items without crowding the cheeses.
A well-prepared board feels effortless but requires a few minutes of prep. With these items checked off, you’re ready to serve a memorable experience.
Common questions about cheese boards
Serving and storing your featured cheeses correctly keeps them tasting their best. Camembert and Taleggio are soft, high-moisture cheeses that need protection from drying out, while Romano is a hard, aged cheese that holds up well in the fridge. Understanding these differences helps you build a personalized cheese board that looks as good as it tastes.
How should I store Camembert and Taleggio?
Soft cheeses like Camembert and Taleggio breathe, so wrap them in wax or parchment paper first. This allows the cheese to breathe while retaining moisture. Avoid plastic wrap directly against the rind, which can trap ammonia and make the cheese taste bitter. Store them in the warmest part of your fridge, usually the door or a dedicated vegetable drawer.
Can I leave Romano out for long periods?
Hard cheeses like Romano are more stable than soft varieties. You can leave them out at room temperature for a few hours without worry. However, once cut, it’s best to re-wrap tightly in plastic or vacuum seal to prevent mold. If you notice any dry spots, simply trim them off before serving.
What is the best way to personalize a cheese board?
Personalization often starts with the board itself. Custom engraved or monogrammed boards add a unique touch that turns a simple snack into a thoughtful gift. You can also personalize the arrangement by labeling each cheese with small flags or using different serving utensils for each type to keep flavors distinct.
No comments yet. Be the first to share your thoughts!