

Pick your three signature cheeses
A proper Cheesie-style board needs a specific flavor architecture. You aren't just piling random wheels together; you are building a trio that balances fat, funk, and sharpness. This combination creates the foundation that defines the style: rich, creamy, and intensely savory.
Start with Camembert for the base. Its soft, bloomy rind and buttery interior provide the necessary creaminess that mimics the melted cheese experience of the original dish. Next, add Taleggio. This washed-rind cheese brings a pungent, earthy aroma and a slightly sticky texture that cuts through the richness. Finally, finish with Romano. The hard, salty granular texture offers a sharp contrast that wakes up the palate and prevents the board from feeling too heavy.
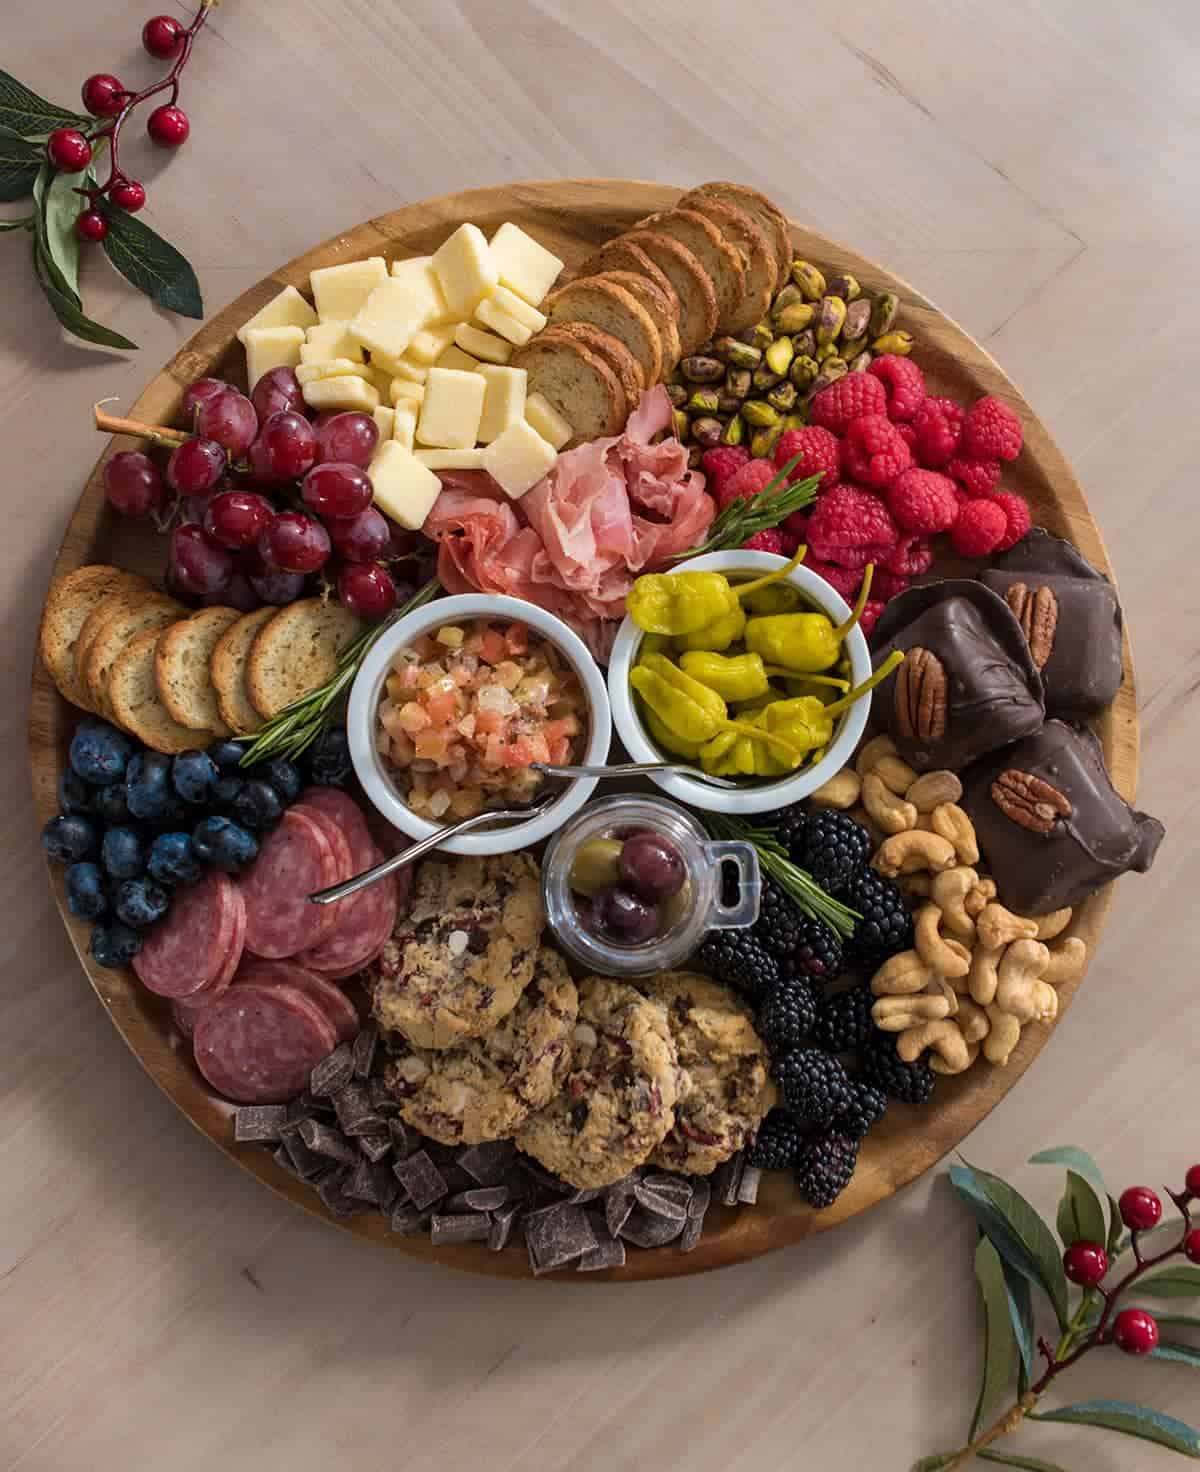
These three cheeses work because they cover the full spectrum of dairy intensity. The Camembert is the canvas, the Taleggio is the bold brushstroke, and the Romano is the salt that ties it all together. Without this specific balance, the board feels either too mild or overwhelmingly sharp.
| Cheese | Flavor Profile | Texture | Best Pairing |
|---|---|---|---|
| Camembert | Mild, buttery, earthy | Soft, creamy, spreadable | Crusty bread, fresh apples |
| Taleggio | Pungent, tangy, savory | Semi-soft, slightly sticky | Pears, honey, dark crackers |
| Romano | Sharp, salty, nutty | Hard, granular, crumbly | Dried fruits, nuts, olives |
Gather the right cutting tools
The difference between a messy snack and a proper cheesie-style charcuterie board often comes down to the tools in your hand. Using the wrong blade can crush soft cheeses, shred hard ones unevenly, or leave you struggling to slice through crusty bread. Each cheese type demands a specific approach to maintain its integrity and ensure every piece looks as good as it tastes.
Having the right gear makes the assembly process faster and more enjoyable. You won't have to fight your ingredients or worry about uneven slices ruining the aesthetic. Keep your knives sharp and clean between different cheese types to prevent flavor transfer and maintain hygiene.
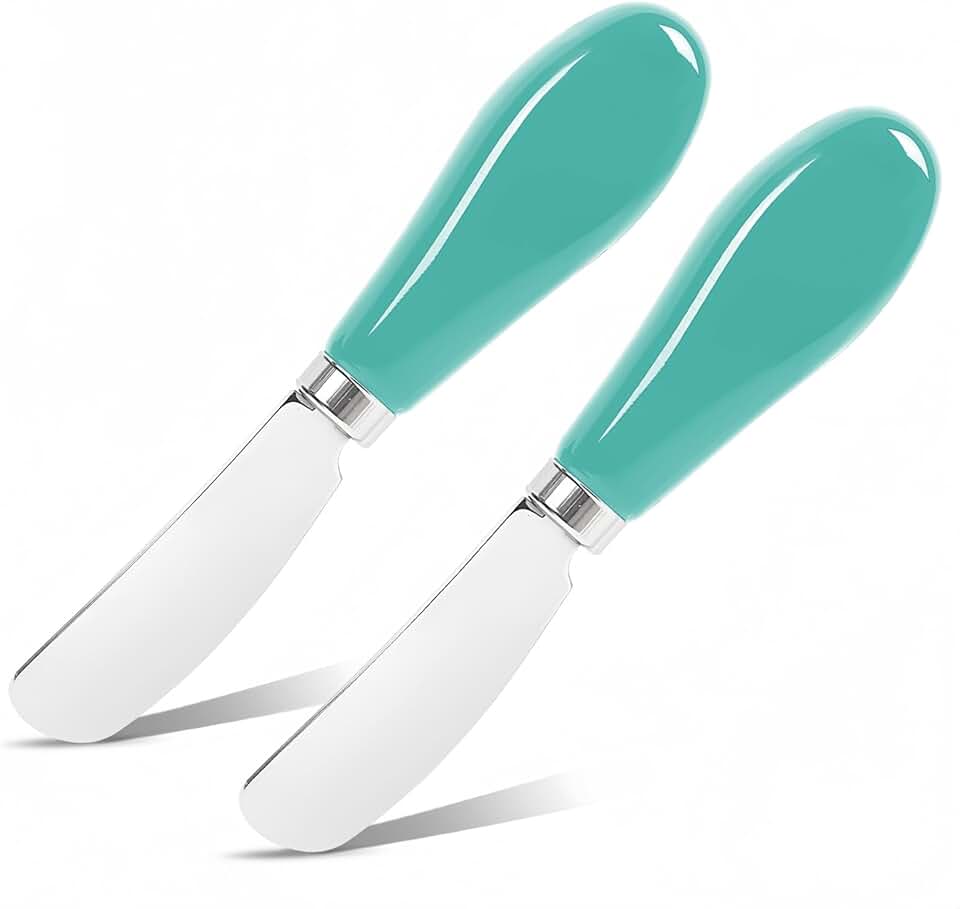

As an Amazon Associate, we may earn from qualifying purchases.
Arrange the board in layers
Building a cheesie-style charcuterie board is less about random scattering and more about architectural layering. You want to recreate the visual comfort of a grilled cheese sandwich: golden, melty, and substantial. By arranging your components in deliberate layers, you create a board that feels abundant and easy to navigate, rather than a sparse assortment of ingredients.
Start with the heavy anchors. Place your largest cheeses and sturdiest vessels on the board first. This establishes the foundation and prevents smaller items from being buried or displaced later. Think of this as laying the bread slices for your sandwich.
Begin by positioning your largest cheese blocks or wedges. For a cheesie-style board, focus on cheeses that melt well or have a strong, savory profile, such as cheddar, gouda, or a soft brie. Place these at varying intervals across the board, leaving space between them for fillers. This creates a visual rhythm and ensures every guest has access to the main event.
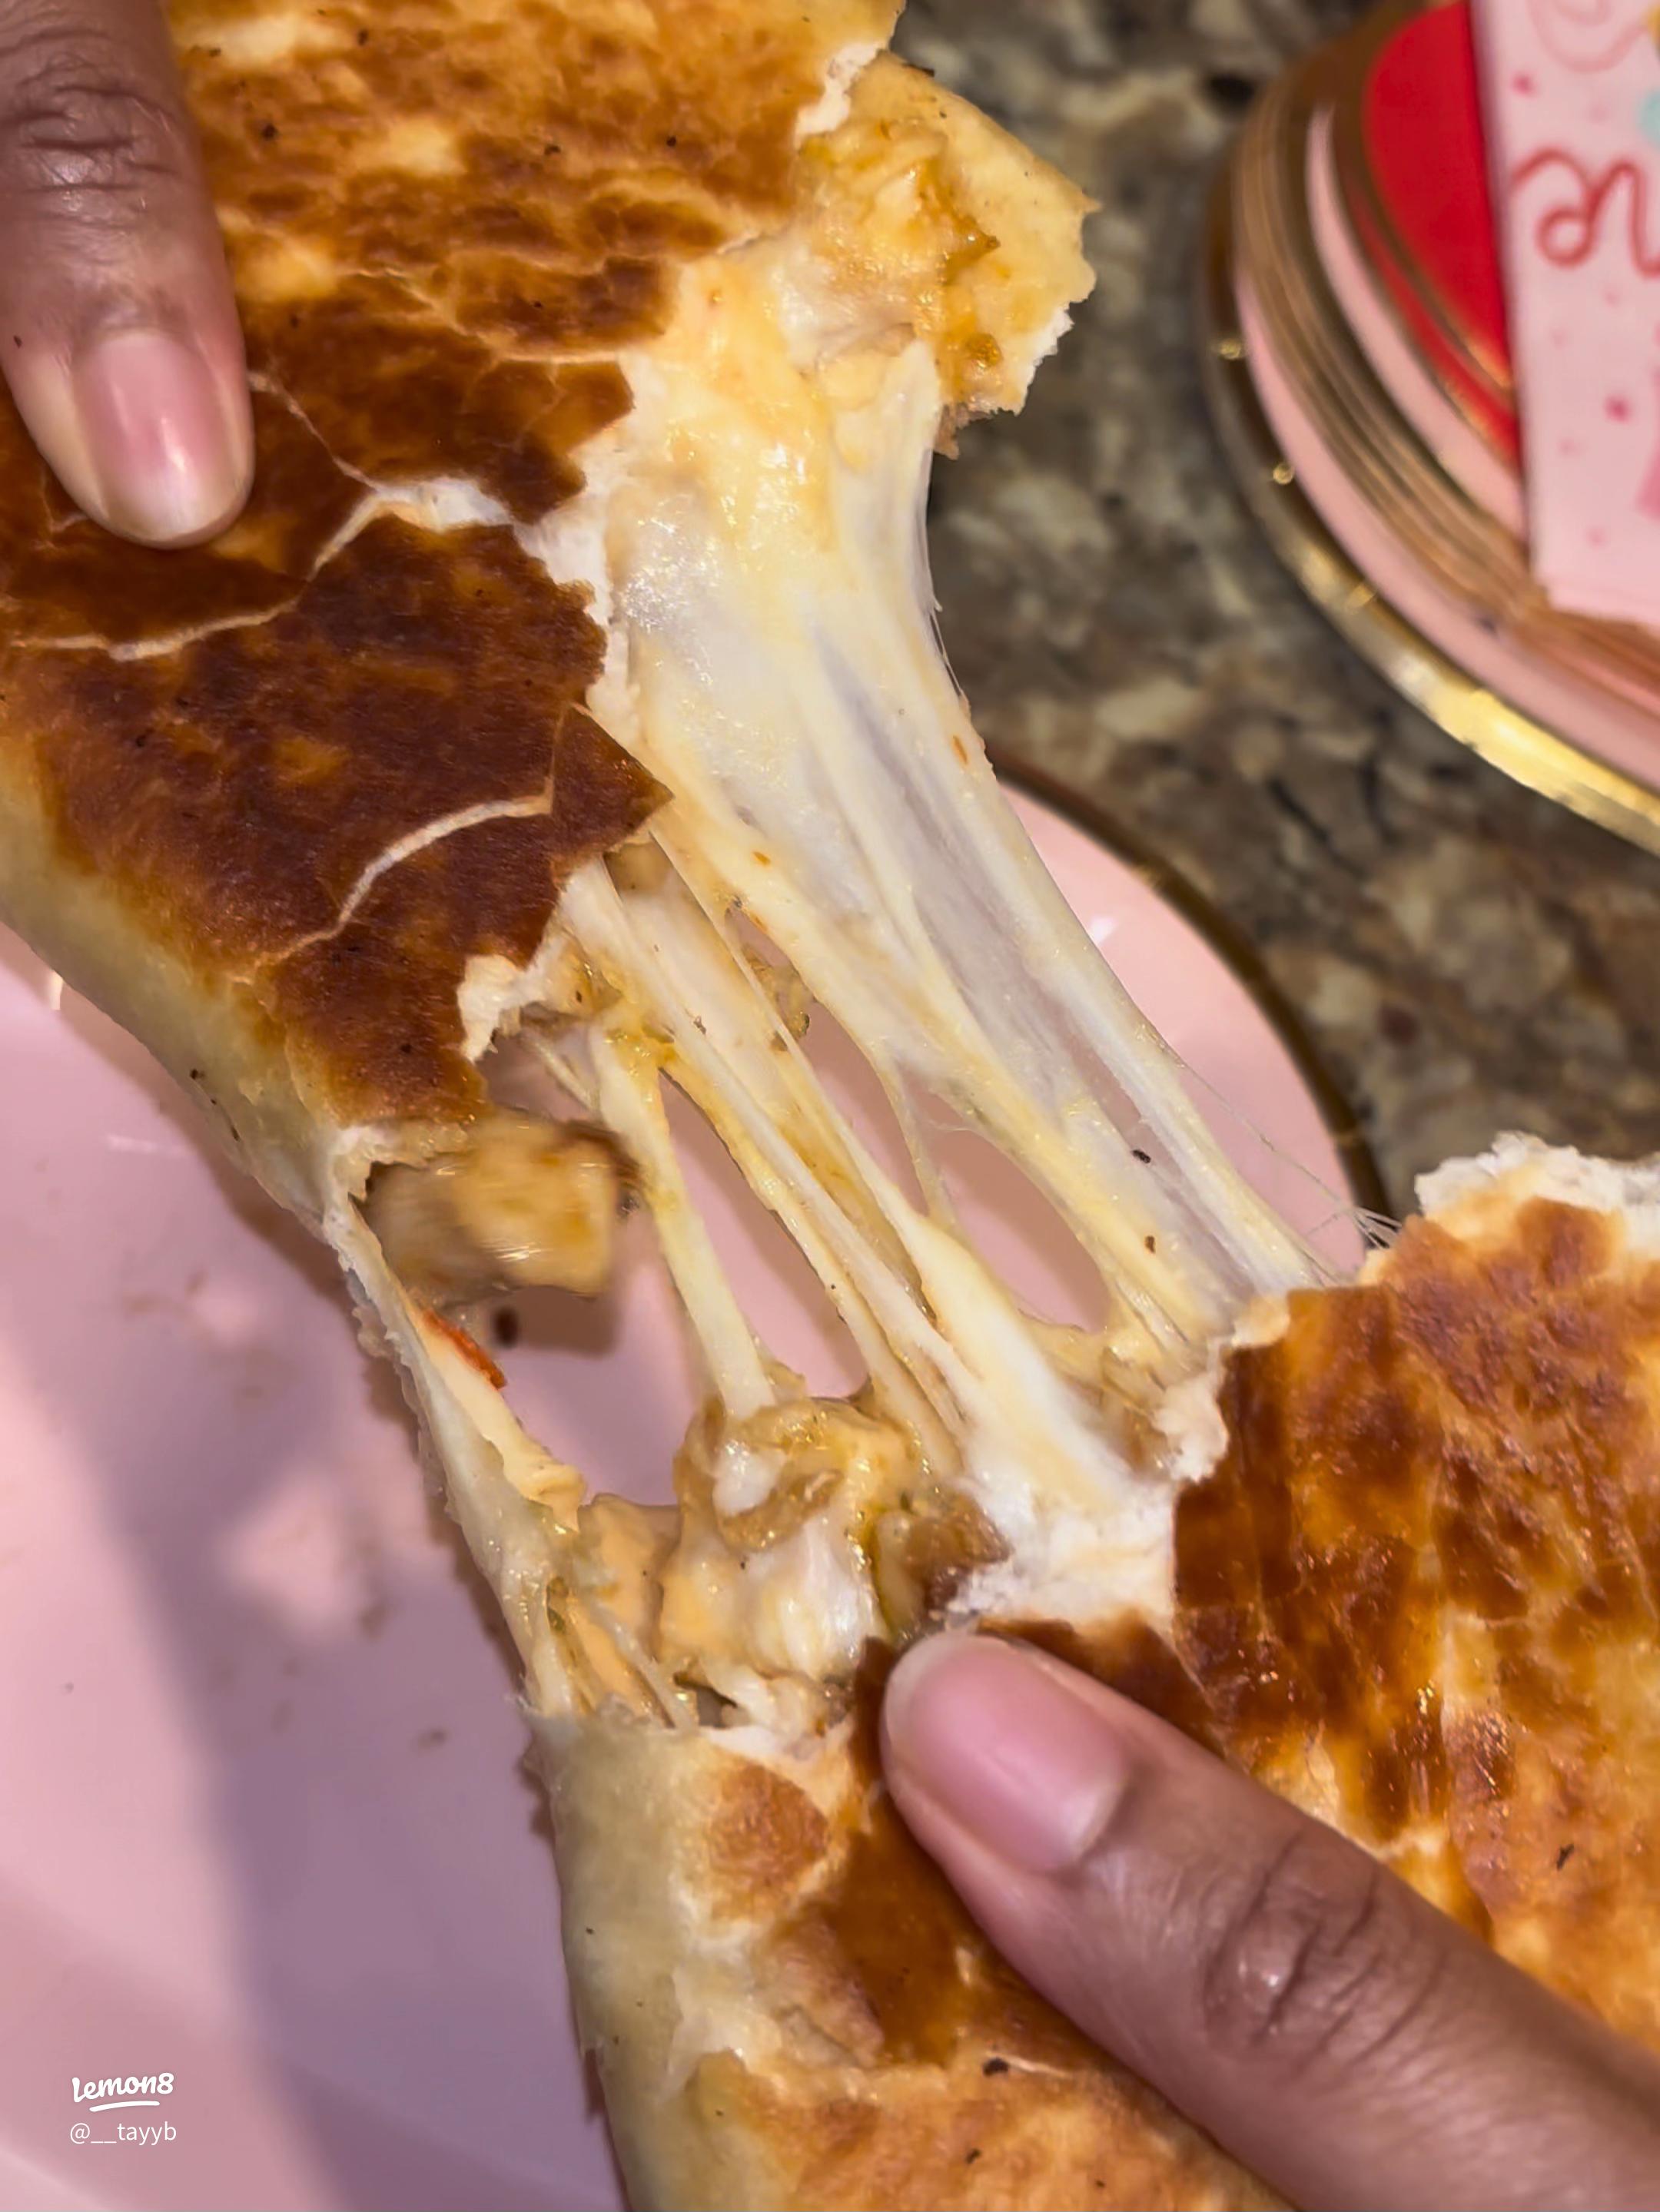
Next, tuck your crackers, breadsticks, or sliced baguette into the empty spaces between the cheese anchors. This step is crucial for "volume"; it makes the board look full and inviting without requiring excessive amounts of expensive charcuterie. Group similar textures together, such as stacking crackers or fanning out bread slices, to create neat, manageable clusters.
Now, introduce the salty and savory elements. Fold slices of salami, ham, or bacon into the gaps. If you are using whole sausages or pickles, place them in small bowls or directly on the board to add height and variety. These items provide the umami punch that complements the rich cheeses, mimicking the savory depth of a classic grilled cheese filling.
Finish the board with the final layer of fresh fruits, nuts, and sweet condiments. Grapes, apple slices, or figs add brightness and cut through the richness of the cheese and meat. Drizzle honey or jam in small pools or serve in tiny ramekins. This last layer adds color contrast and texture, completing the cheesie-style aesthetic with a touch of sweetness.
By following this layering technique, you ensure that every bite has a balance of flavors and textures. The board will look professionally styled while remaining simple to assemble. Remember, the goal is to make the board look as comforting and satisfying as the sandwiches Cheesie's is famous for.
Add complementary accompaniments
The three cheeses—cheddar, American, and provolone—bring heavy salt and fat to the table. To keep the board from feeling overwhelming, you need items that cut through that richness. Think of your accompaniments as palate cleansers that reset your taste buds between bites.
Pick salty and sweet meats
Skip the plain deli turkey. Opt for cured meats that stand up to the bold cheese flavors. Salty prosciutto, spicy pepperoni, or tangy salami work best. If you want to mimic the classic Cheesie's pub vibe, look for savory meats that pair well with beer or a dark soda.
Choose crisp fruits
Fruit provides the necessary contrast to the heavy dairy. Fresh grapes are the standard choice because their high water content washes away the grease. Sliced apples or pears add a crunchy texture that contrasts with the soft bread and melted cheese. Avoid soft fruits like bananas, which turn mushy and don't hold up on a board.
Add crunch with nuts
Nuts add texture and a nutty depth that complements the sharp cheddar. Whole almonds, walnuts, or pecans are ideal. Toasting them lightly in a dry pan for two minutes brings out their oils and makes them significantly more flavorful than raw nuts. Sprinkle them generously over the board, not just in piles.
Include a tangy condiment
A small bowl of whole-grain mustard or a spicy chutney adds a necessary acid kick. This is the secret weapon that elevates a homemade board from a snack to a meal. The acidity cuts the fat of the cheese, making each bite feel lighter. Keep the condiment separate in a ramekin so the bread doesn't get soggy before serving.
Serve and enjoy your Cheesie-style board
Your Cheesie-style charcuterie board is ready. The final step is presentation and pairing. Place the board on the table and let guests help themselves. The goal is a casual, shareable spread that feels abundant without looking cluttered.
Wine pairings for your board
Match the intensity of the cheese with the wine. Sharp cheddar and aged gouda stand up to full-bodied reds like Cabernet Sauvignon or Malbec. For milder cheeses like mozzarella or fresh ricotta, choose a crisp white such as Sauvignon Blanc or a light Pinot Grigio. If you prefer beer, a hoppy IPA cuts through the richness of the cured meats and salty nuts.
Presentation tips
Arrange the board in sections rather than mixing everything together. This makes it easier for guests to find what they like. Place the heaviest items, like large cheese wedges or bowls of dip, first. Fill in the gaps with crackers, bread, and fruits. Add fresh herbs like rosemary or thyme on top for a pop of color and aroma.
Final checklist
-
Ensure all cheeses are at room temperature for best flavor.
-
Provide separate knives for each cheese type.
-
Place napkins and small plates within easy reach.
-
Have ice water or sparkling water available to cleanse the palate.
-
Cheeses at room temperature
-
Separate knives for each cheese
-
Napkins and plates ready
-
Water available for palate cleansing
Once everything is set, invite your guests over. A Cheesie-style board is about connection and comfort. Let the conversation flow as freely as the wine. Enjoy the process of sharing good food with good people.
Common questions about cheese boards
We often get asked about the basics of building a proper cheese board. Here are the most frequent questions we receive from home cooks.
Is it cheesier or more cheesy?
Both terms work, but "cheesier" is the standard comparative form. You can say "far cheesier" without adding "more," which sounds clunky. When describing your board, stick to the simpler form.
Who owns Cheesie's Chicago?
Cheesie's was established in 2011 by CEO and Founder Chris Johnston. He built the brand to bring his signature comfort food to homes across the city.
How to make a cheesie?
Start by preheating your oven to 180 degrees. Cut your rolls in half and place them cut-side up on a tray. Top each half with 25g of grated cheese and bake for 5-8 minutes until melted and golden.
No comments yet. Be the first to share your thoughts!