
Get cheesie right
Before you slice into the Camembert or crumble the Romano, you need the right foundation. A cheese board is more than a pile of dairy; it is a curated experience that relies on temperature, texture, and timing. If you skip the prep, you end with a cold, sticky mess rather than a tasting event.
Start with the board itself. Wood is the traditional choice because it absorbs minimal moisture and adds visual warmth, but slate or marble work if you keep the cheese chilled longer. Avoid plastic cutting boards for serving; they impart a waxy taste and don’t hold up to knife edges over time.
Temperature is the single biggest mistake people make. Cheese tastes best at room temperature. Pull your Camembert, Taleggio, and Romano out of the fridge at least 45 minutes before serving. If the cheese is too cold, the fats are locked up, and the complex aromas stay hidden. Let them breathe on the board.
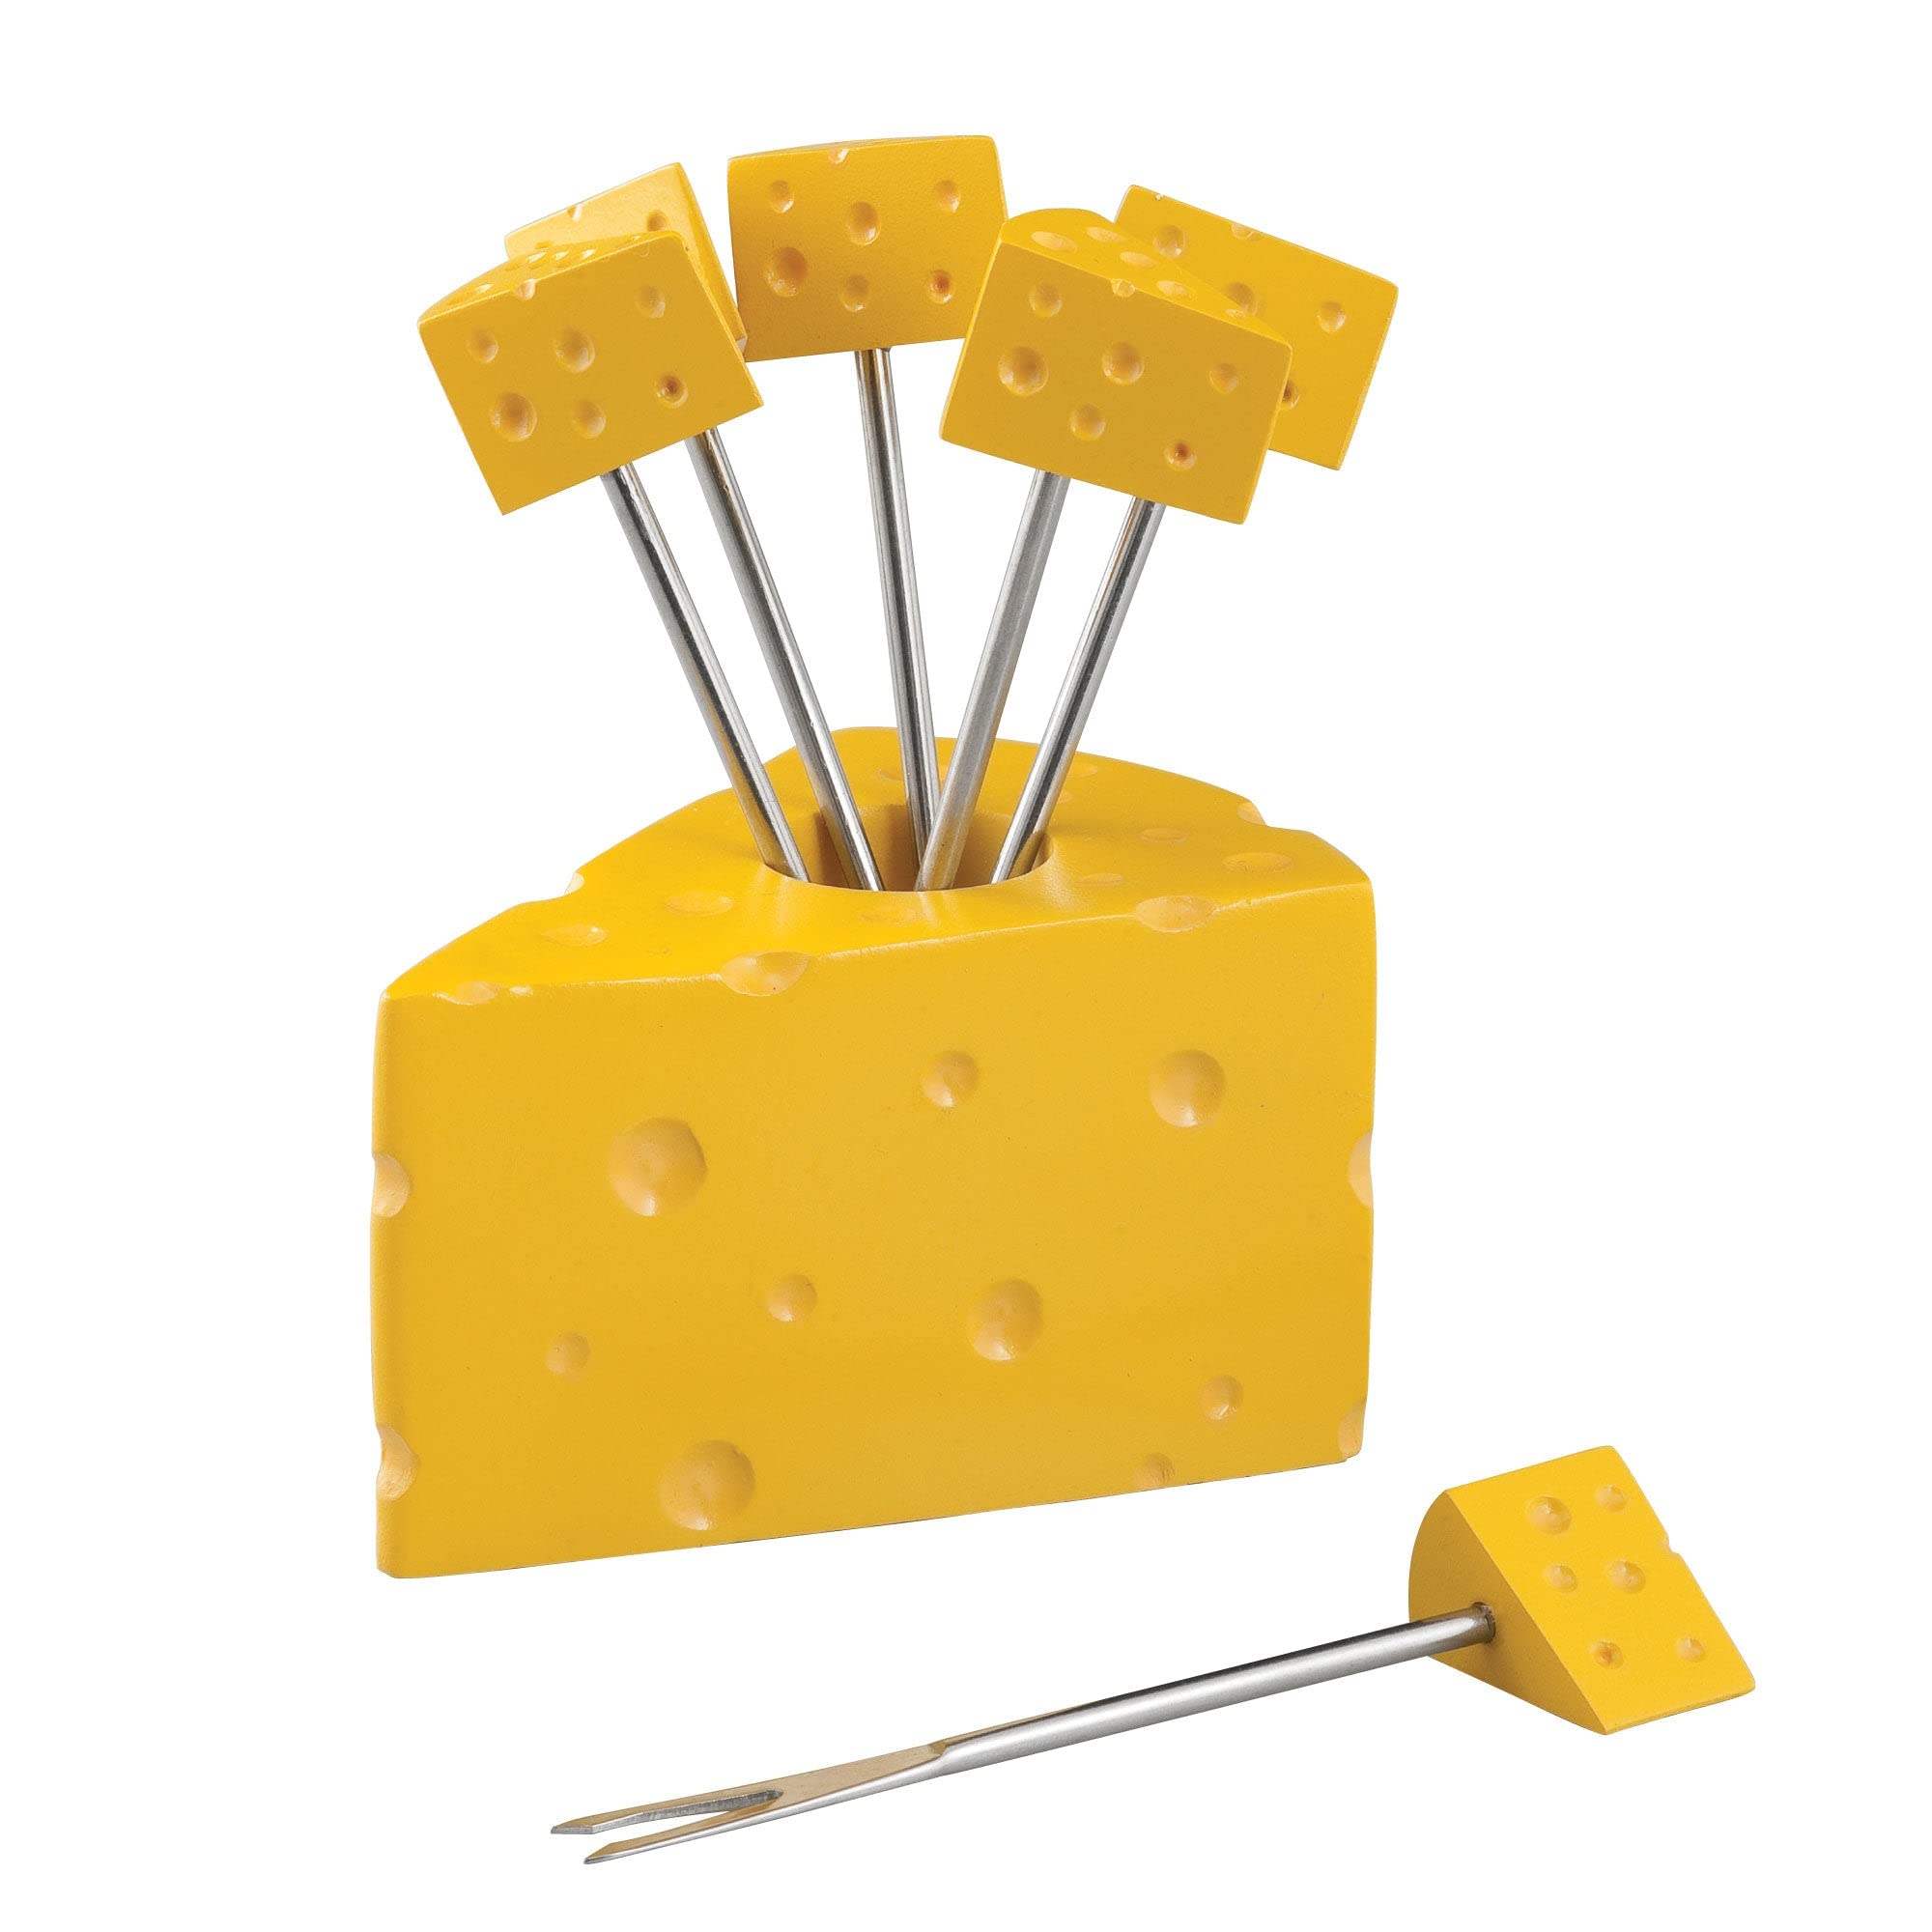
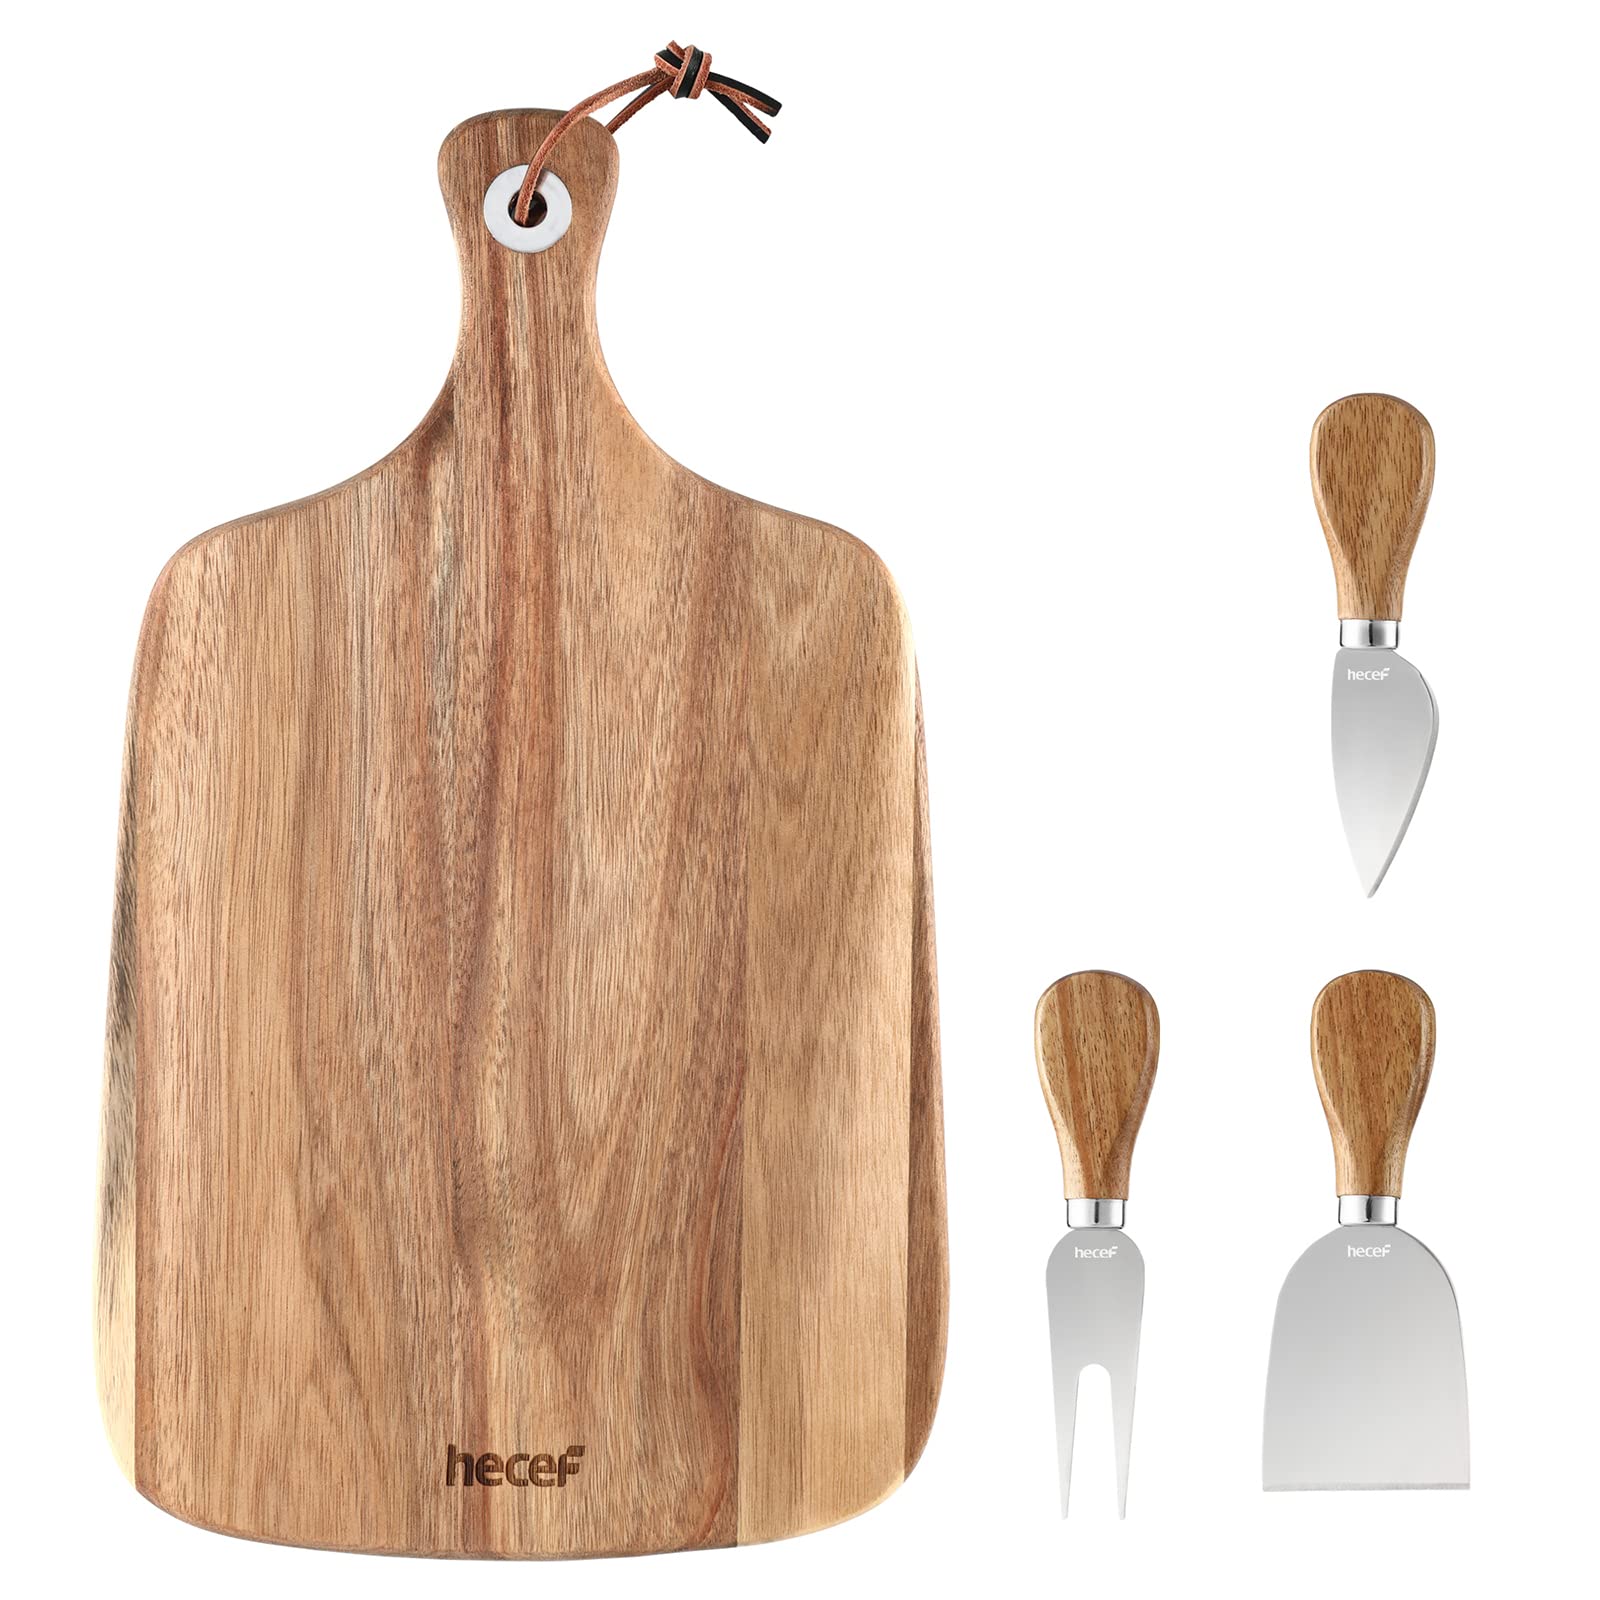
Finally, gather your tools. You need a knife with a narrow blade for soft cheeses like Camembert to avoid crushing them, and a wire cheese cutter for harder wedges. Keep a separate small knife for spreading honey or jam. Clean, distinct tools prevent flavor cross-contamination and make the serving process smooth.

Build your personalized cheese board
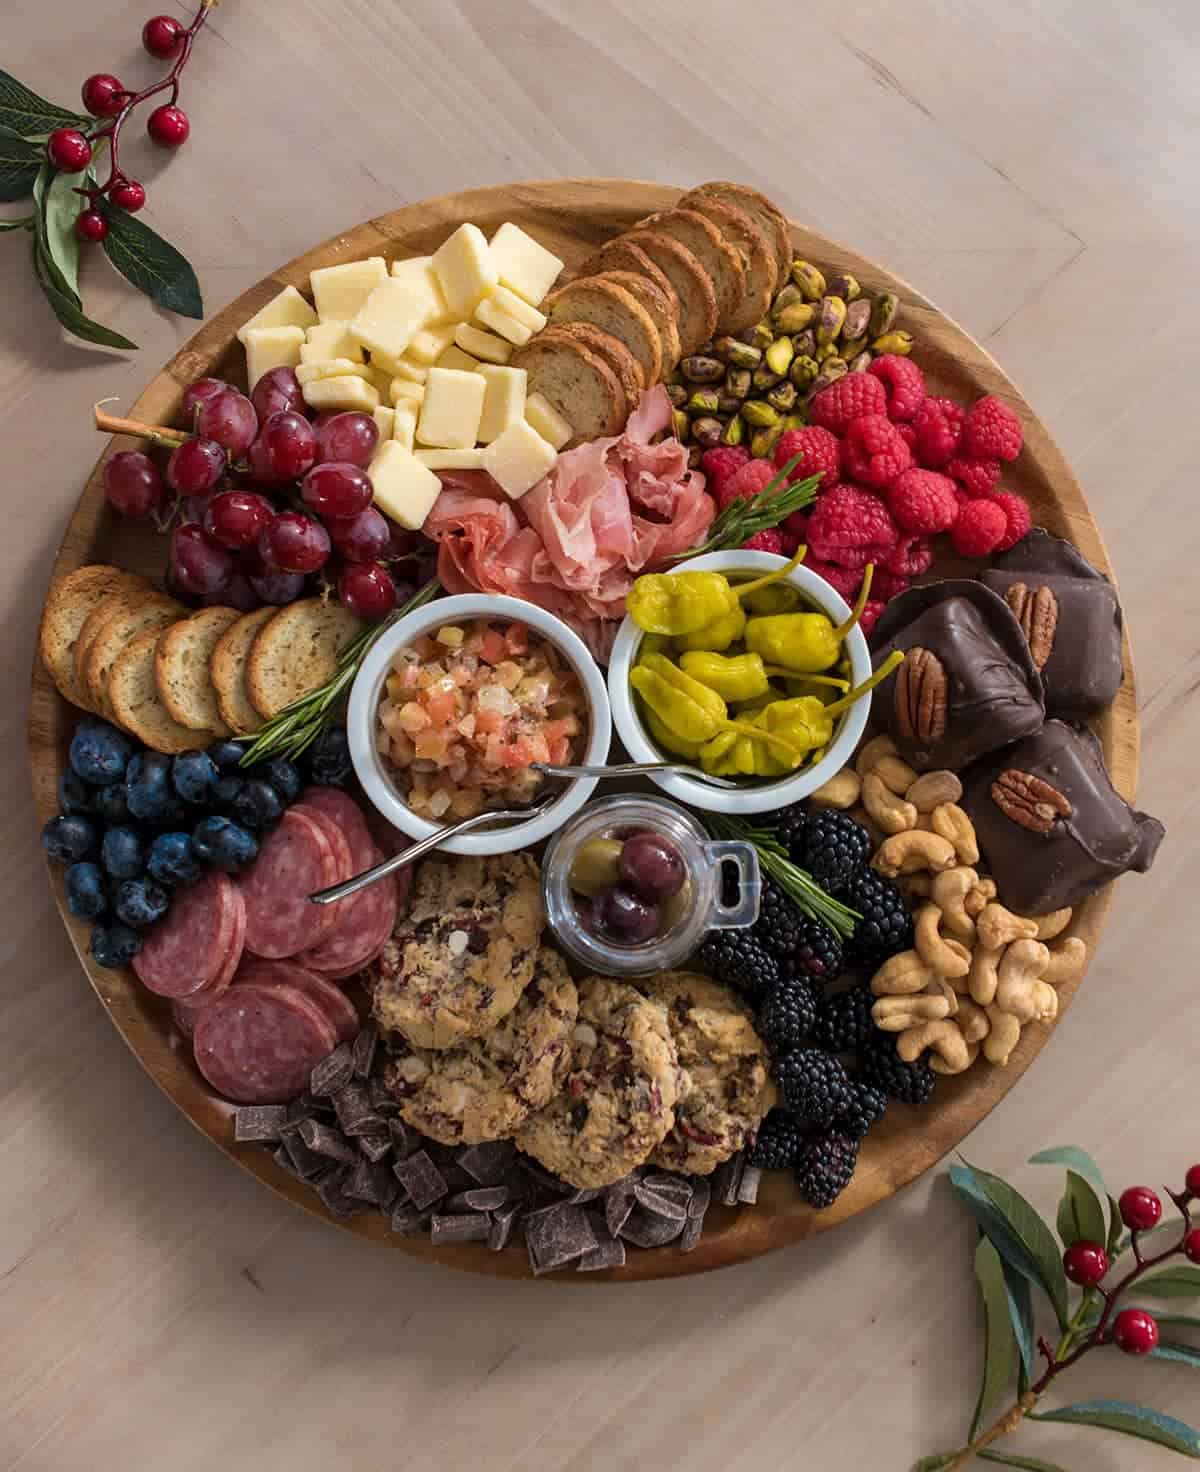
Start with the foundation. A balanced board needs texture and flavor variety, so begin by selecting your three anchors: Camembert, Taleggio, and Romano. These cheeses offer a spectrum from creamy and earthy to sharp and crystalline. Place them on the board first, spaced evenly to create natural islands of flavor.
Add the crunch next. Crackers and breads provide the structural support for the cheese. Choose a mix of textures: a sturdy water cracker for the soft Camembert, a rustic sourdough slice for the pungent Taleggio, and a delicate almond biscotti to complement the sharp Romano. Arrange them in small piles or fanned out around the cheese wedges.
Fill the gaps with contrast. The 2026 trend favors personalization, so choose accompaniments that match your specific taste profile. For a sweet contrast, add fig jam or honey. For acidity, include cornichons or pickled onions. If you prefer savory notes, throw in salami or roasted nuts. The goal is to create pockets of flavor that invite experimentation.
Finish with visual balance. Step back and look at the board as a whole. Ensure there is a mix of colors and heights. Drizzle the Taleggio with a little truffle oil if desired, or scatter fresh herbs like thyme over the Camembert. The final board should look abundant but not cluttered, with every cheese having its own space to shine.
Common Mistakes to Avoid
Even with high-quality ingredients like Camembert, Taleggio, and Romano, a cheese board can fall flat if the assembly lacks intention. The most frequent error is treating the board as a random assortment rather than a curated experience. When cheeses are haphazardly thrown together, the visual appeal suffers, and the flavors clash instead of complementing one another.
Another critical mistake is neglecting the "pairing logic." Serving a sharp, salty Romano next to a mild, creamy Taleggio without a bridge—like honey, fruit, or crusty bread—creates disjointed bites. The goal is harmony, not just variety. Each cheese should have a purpose, whether it is the creamy anchor, the salty punch, or the textural contrast.
Finally, serving cheese straight from the fridge is a cardinal sin. Cold temperatures mute flavor and aroma. Let your cheeses sit at room temperature for at least 30 to 60 minutes before plating. This simple step unlocks the full depth of each cheese, transforming a good board into a memorable one.
Cheesie: what to check next
Before you build your 2026 cheese board, here are the practical answers to the most common questions readers ask.
Helpful gear
Use these product recommendations as a starting point, then choose the size, material, and price point that fit how you actually use the gear.
As an Amazon Associate, we may earn from qualifying purchases.
No comments yet. Be the first to share your thoughts!