

Choose the right board shape
Your board is the foundation for pairing Taleggio, Romano, and Camembert. Each cheese has a distinct texture and shape that demands specific serving conditions. A round board offers continuous space for spreading soft cheeses, while a rectangular shape provides clear zones for hard, crumbly varieties. Selecting the right geometry ensures every slice holds its flavor profile without muddying the tasting experience.
Start by matching the board’s surface to your cheese mix. Taleggio is a washed-rind soft cheese that spreads easily; it needs a wide, flat area to be scooped with a knife. Camembert, a bloomy-rind soft cheese, is best served in wedges or small rounds, requiring a stable base that prevents rolling. Romano, a hard, granular cheese, benefits from being broken into irregular chunks, which looks natural on a board with defined edges or corners.
Consider how you will arrange the three cheeses on the board. A round board encourages a radial arrangement, placing the Camembert in the center with Taleggio and Romano radiating outward. This layout works well for intimate gatherings. A rectangular or square board supports a linear or grid layout, allowing you to separate the strong aroma of Taleggio from the sharp bite of Romano. This separation is crucial for palate clarity.
| Feature | Round Board | Rectangular Board | Square Board |
|---|---|---|---|
| Best For | Soft cheeses (Camembert, Taleggio) | Hard cheeses (Romano) & crackers | Balanced mix of all three |
| Layout Style | Radial / Center-focused | Linear / Zoned | Grid / Structured |
| Space Efficiency | High for spreading | High for portioning | Moderate for grouping |
| Shape | Best Fit | Layout Style | Space Efficiency |
|---|---|---|---|
| Round | Soft cheeses (Camembert, Taleggio) | Radial / Center-focused | High for spreading |
| Rectangular | Hard cheeses (Romano) & crackers | Linear / Zoned | High for portioning |
| Square | Balanced mix of all three | Grid / Structured | Moderate for grouping |
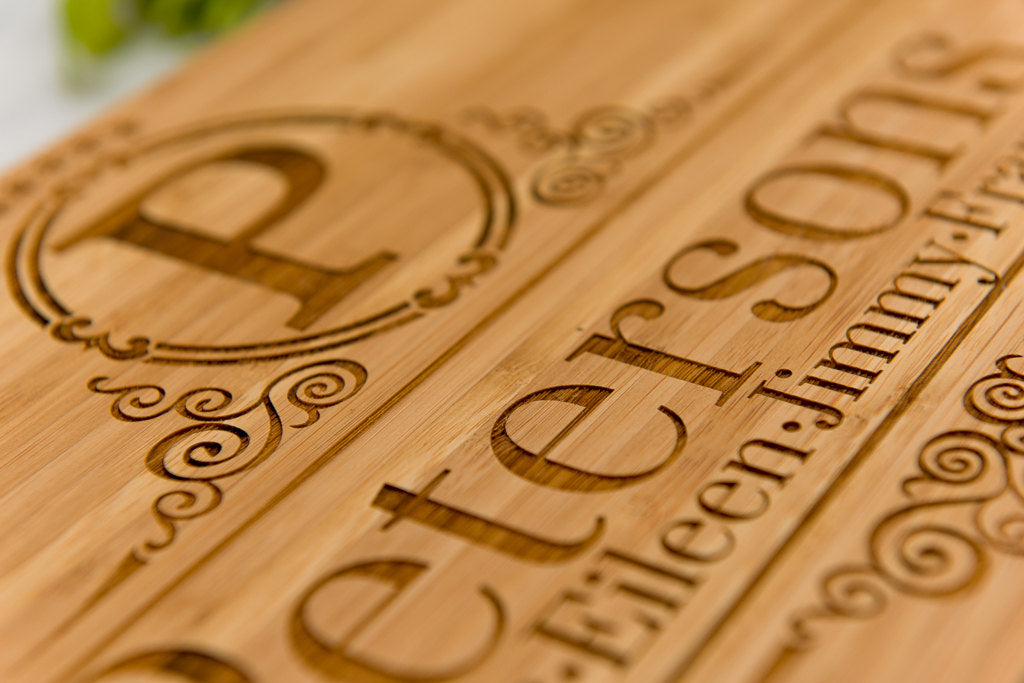
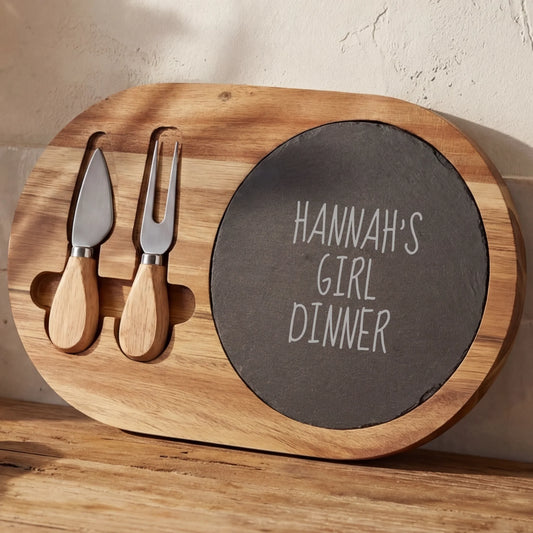
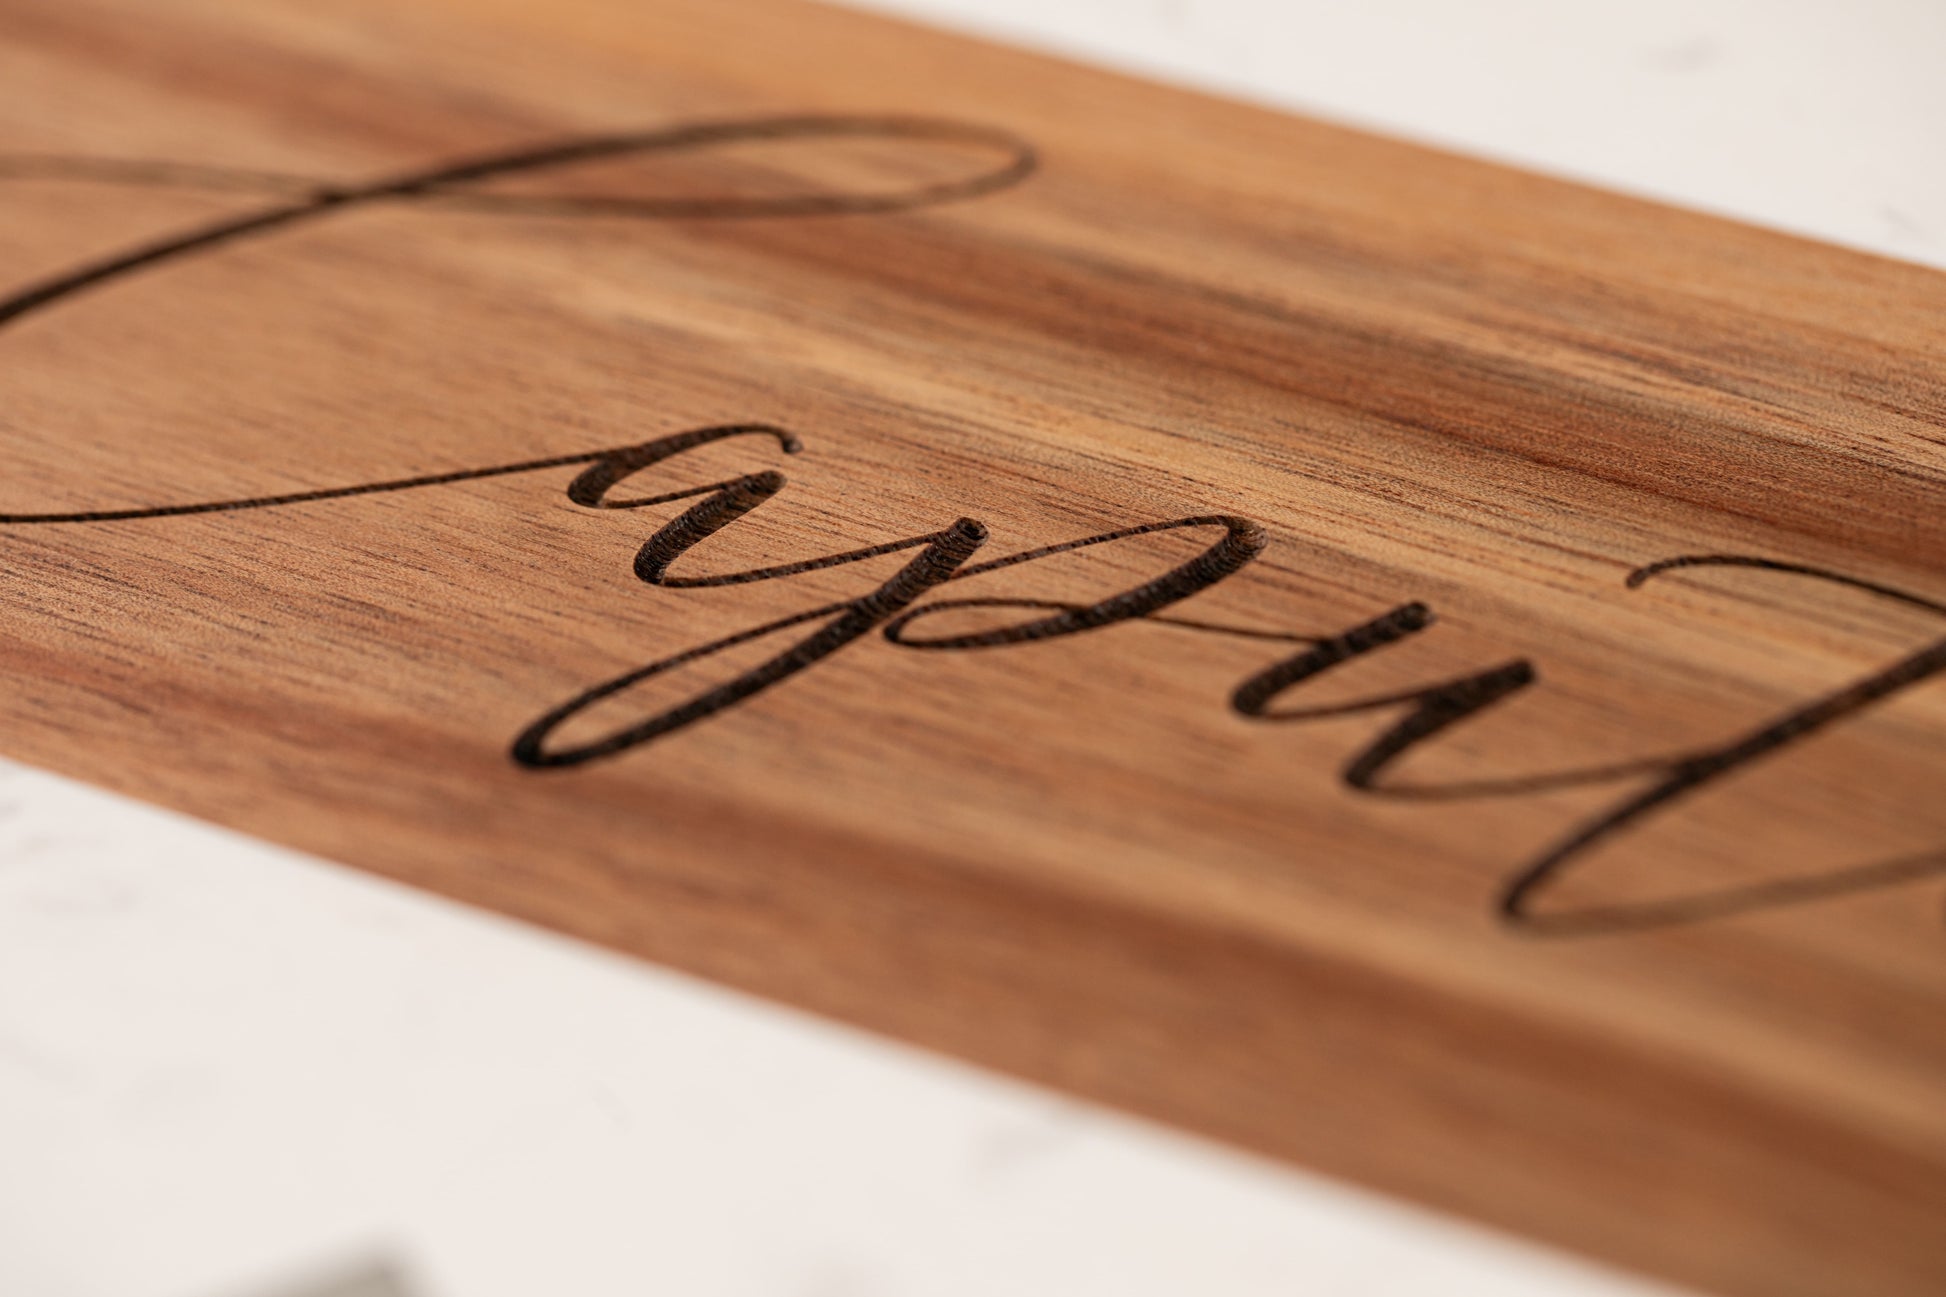
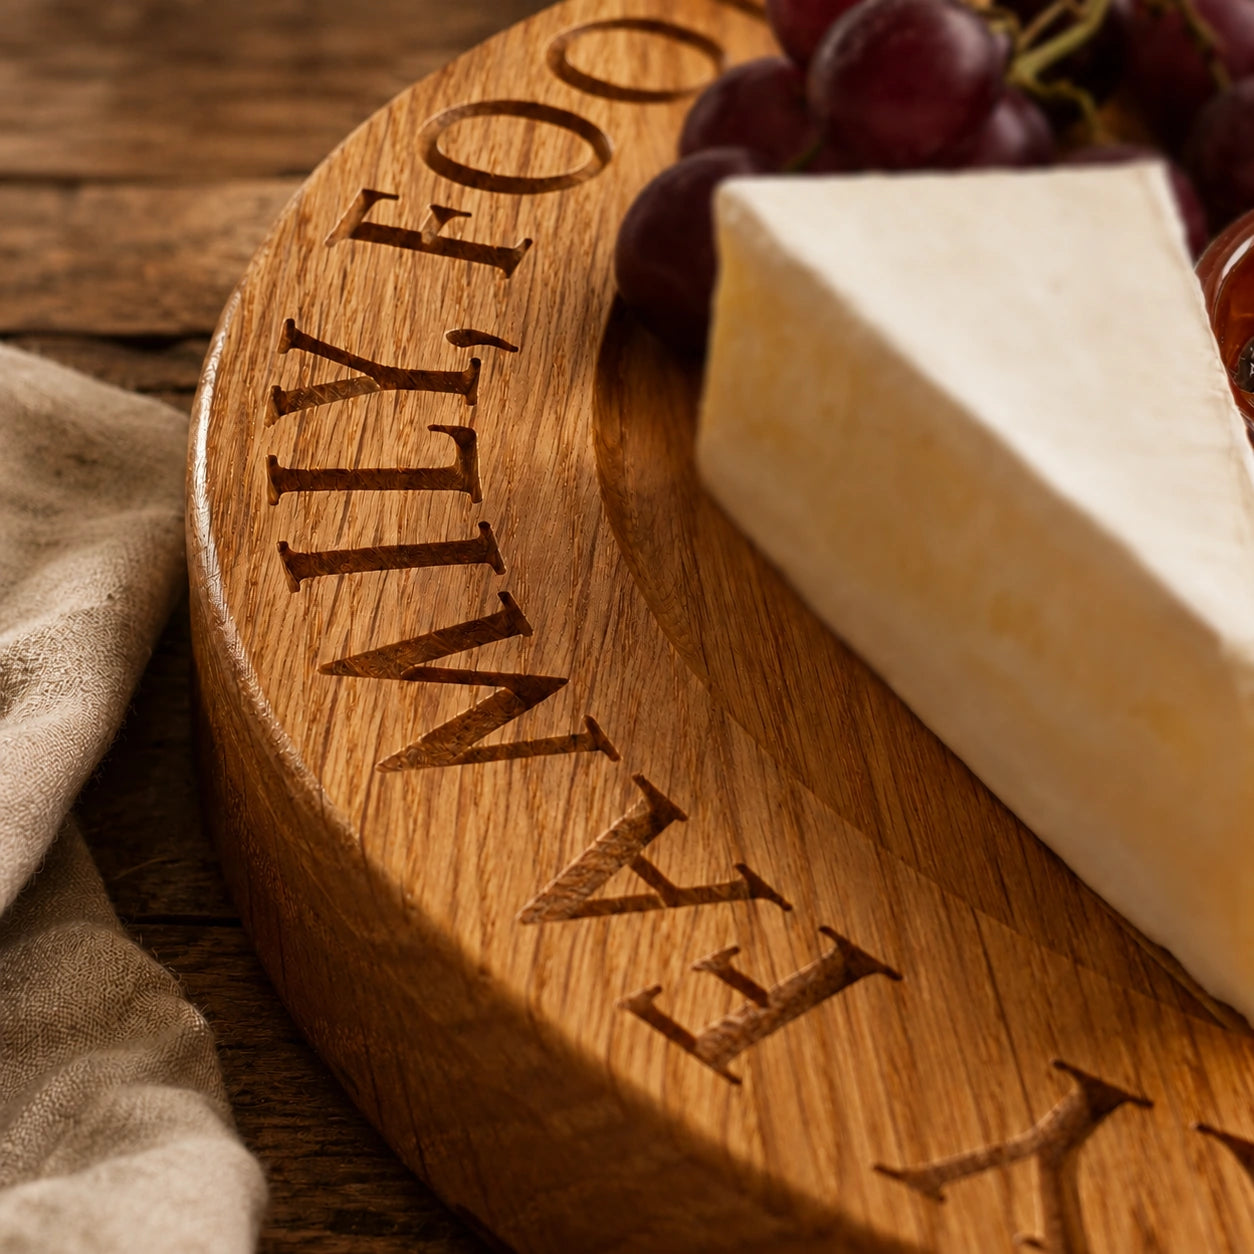
Personalized boards often come in specific shapes, such as initials or family names. If you choose a shaped board, ensure the main body is large enough to hold the cheeses without crowding. A small initial on a tiny board may look cute but will force you to stack cheeses, which can cause the soft Taleggio to melt onto the hard Romano. Prioritize surface area over decorative complexity.
Checklist for board selection:
-
Does the board have enough flat space for the Camembert wedge?
-
Is there a clear zone for the crumbly Romano chunks?
-
Can the Taleggio be spread without touching the Romano?
-
Does the board’s shape allow for easy passing?
-
Does the board have enough flat space for the Camembert wedge?
-
Is there a clear zone for the crumbly Romano chunks?
-
Can the Taleggio be spread without touching the Romano?
-
Does the board’s shape allow for easy passing?
Prepare Taleggio, Romano, and Camembert
Before you arrange your personalized cheese board, the preparation of each cheese determines how it tastes and how it holds up. Taleggio, Romano, and Camembert have distinct textures and moisture levels that require specific handling. Getting this step right ensures your presentation looks professional and the flavors remain intact until the last bite.
Step 1: Handle the Taleggio
Taleggio is a washed-rind cheese with a soft, oozy interior and a pungent aroma. Because it is semi-soft, it can become slippery or lose its shape if cut too thinly or left out too long.
Slice the Taleggio into thick wedges or cubes rather than thin slices. This provides structural integrity and allows the creamy texture to shine without collapsing on the board. Serve it at room temperature, but keep it refrigerated until the moment you are ready to assemble the board. If the cheese is too cold, its complex fruity and earthy notes will be muted.
Cut the Taleggio into generous wedges or cubes. This preserves its structure and prevents it from becoming a messy puddle on the board. Keep it chilled until the last minute to maintain the best flavor profile.
Romano is a hard, dry cheese with a sharp, salty bite. Use a cheese plane or a sharp knife to shave it into thin, irregular curls or small shards. These pieces are easy to grab with crackers and provide a sharp contrast to the softer cheeses. Avoid grinding it; shards offer better texture and visual appeal.
Camembert is a soft-ripened cheese with a bloomy rind. Cut it into wedges like a pie, typically into six or eight pieces. Leave the rind on, as it is edible and adds a earthy, mushroom-like flavor that balances the creamy interior. Let it sit at room temperature for 20–30 minutes before serving to reach its peak creaminess.
Step 2: Manage Temperature and Timing
The success of your personalized cheese board hinges on temperature. Hard cheeses like Romano are forgiving, but Taleggio and Camembert need to "wake up."
Take all three cheeses out of the refrigerator 30 to 60 minutes before you plan to eat. This allows the fats to soften and the aromatics to release. If you serve them straight from the fridge, the flavors will be closed off, and the textures will be unpleasantly firm. Place the prepared cheeses on the board just before guests arrive to maintain this optimal state.
Select premium cheese slicers
The texture gap between Taleggio, Romano, and Camembert demands more than one tool. A single wire slicer will mash the soft cheeses or shatter the hard ones. You need a small toolkit that adapts to each slice.
Start with a flexible wire slicer for the soft cheeses. The thin wire glides through the creamy interior of Camembert and the semi-soft Taleggio without crushing the rind. Look for a model with an adjustable frame so you can control slice thickness. This prevents the cheese from sliding around on the board.
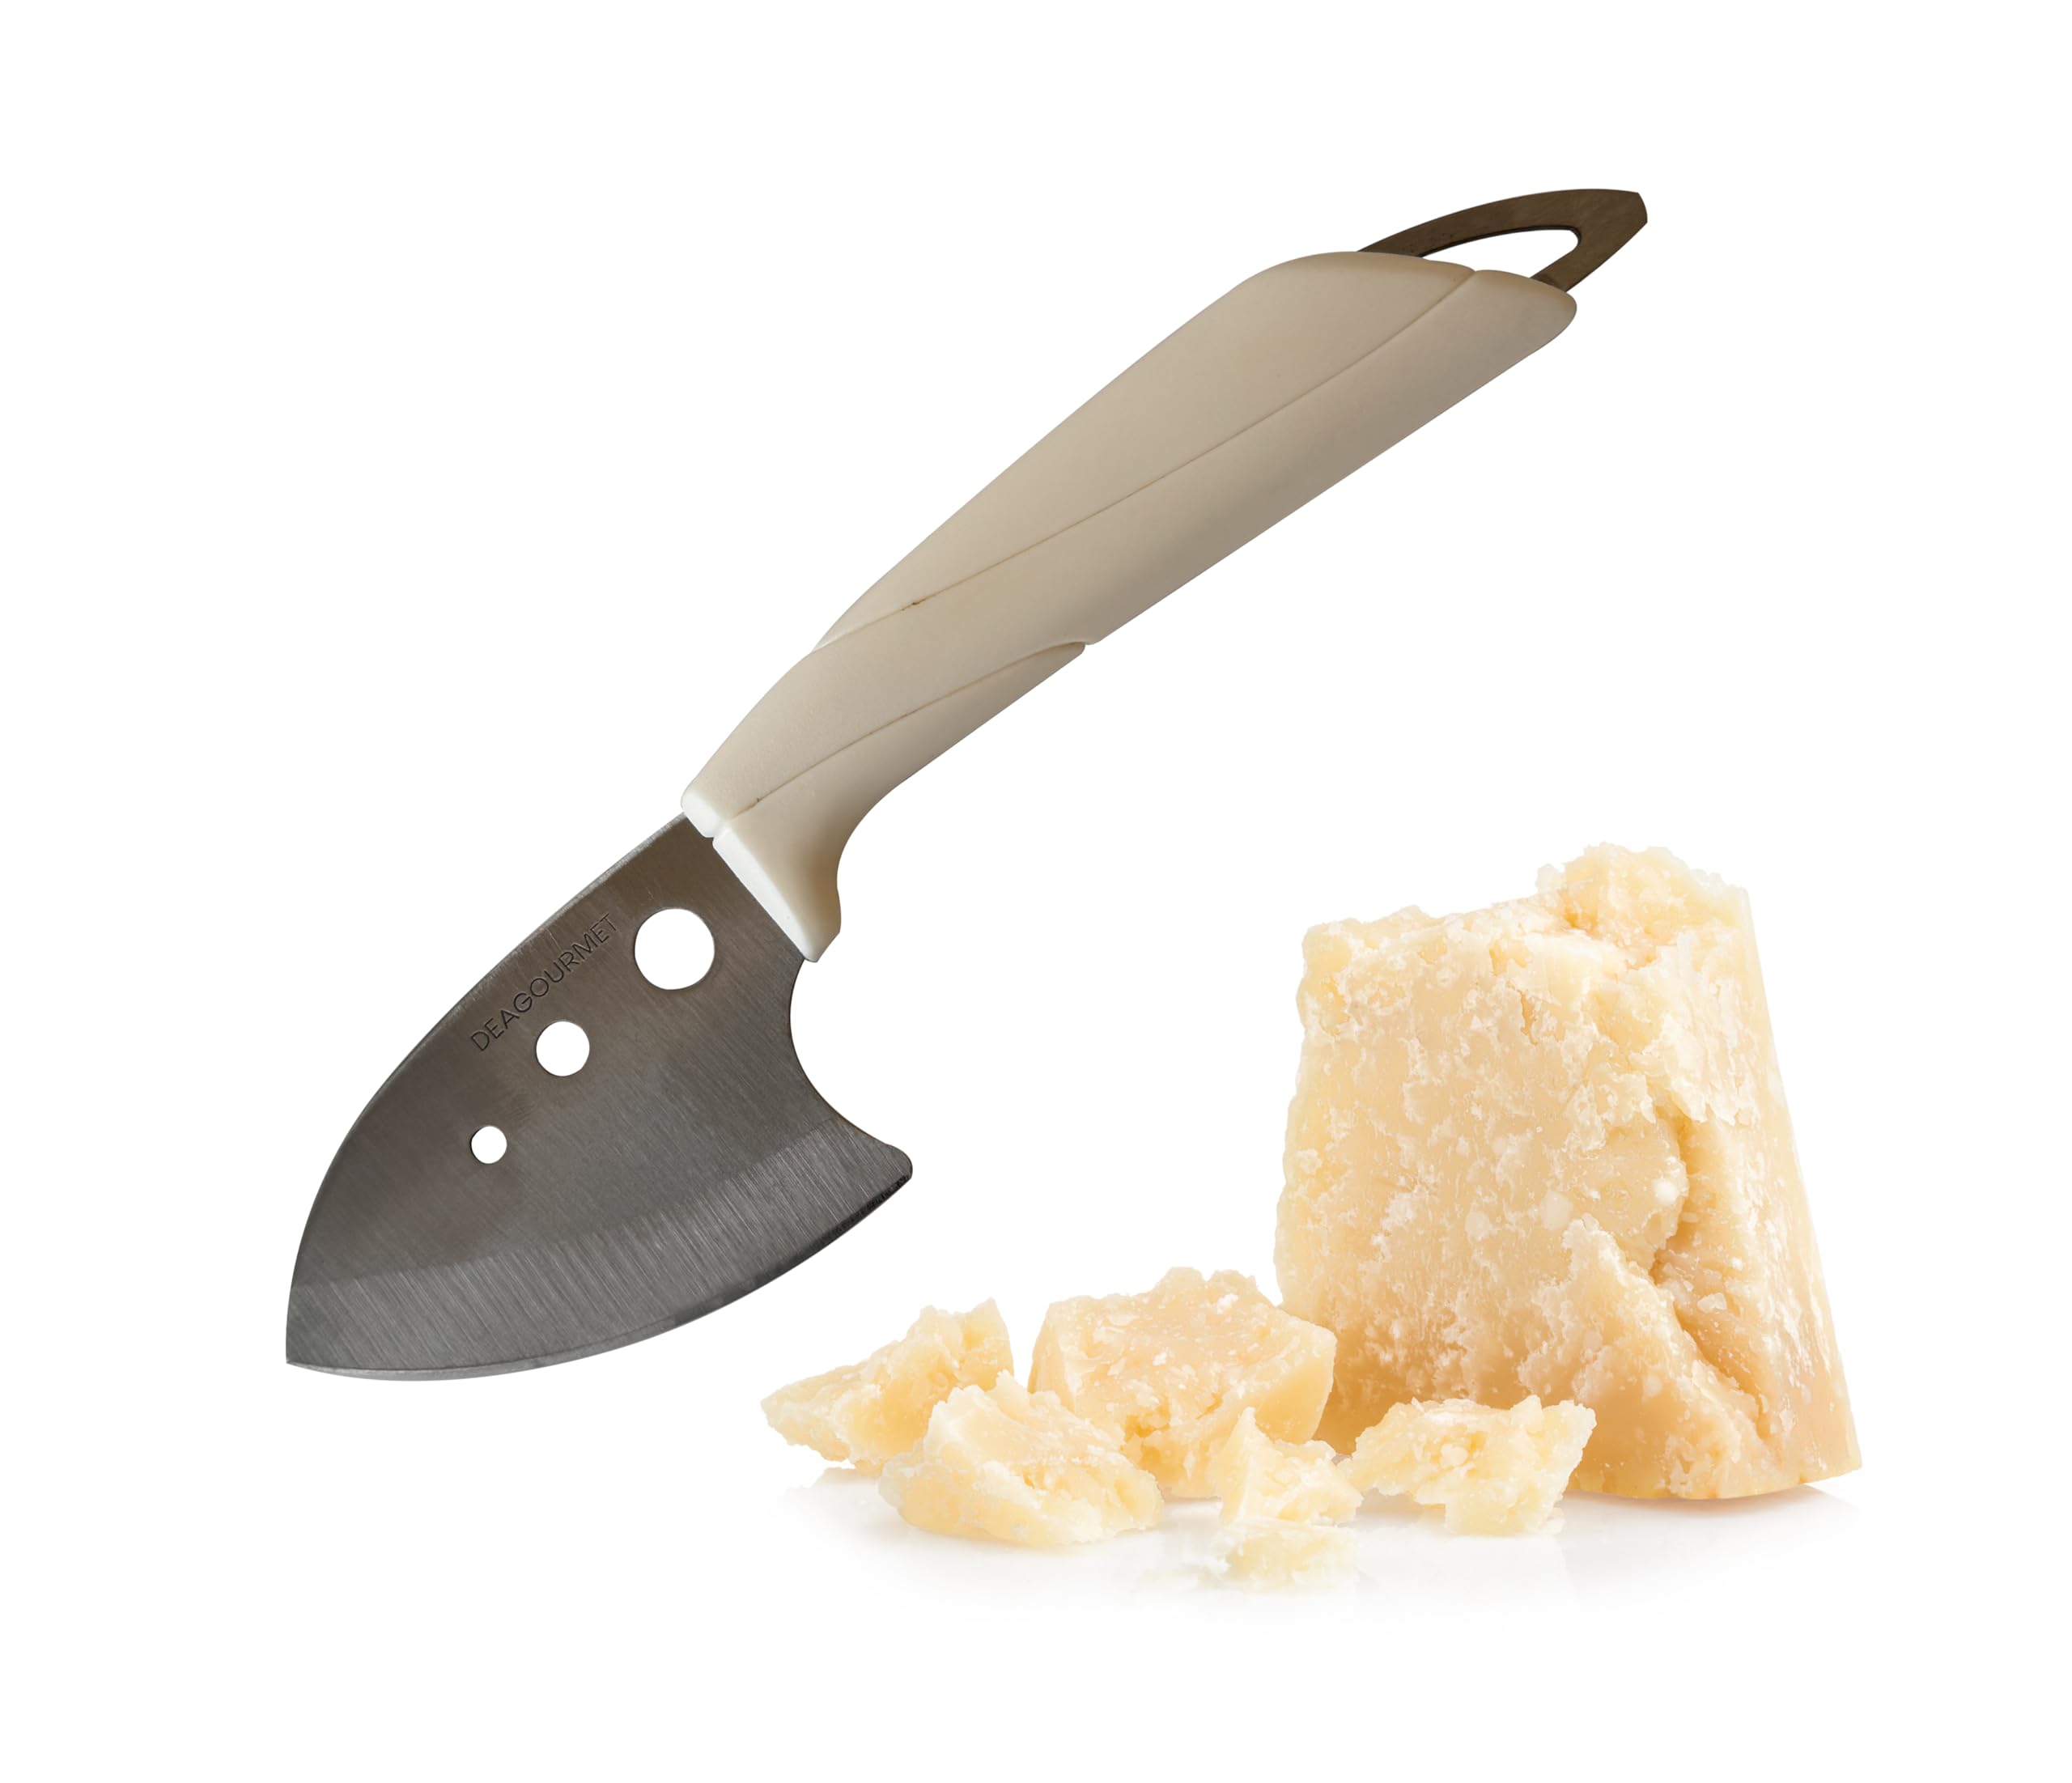
Switch to a rigid blade or a multi-wire handle for the hard Romano. The dense, granular texture requires a sharp, stiff blade to cut cleanly. A traditional Italian slicer with a curved blade gives you the leverage needed for hard cheese. Avoid wire slicers here; they will snag and tear the crystalline structure.
Keep a small paring knife nearby for final adjustments. Use it to trim any uneven edges or cut wedges for serving. This keeps the main slicers clean and ready for the next cheese.


As an Amazon Associate, we may earn from qualifying purchases.
Arrange the board with intention
A personalized cheese board relies on balance, not just abundance. The goal is to create a layout that guides the guest’s eye and makes serving effortless. Start by placing the three main cheeses—Taleggio, Romano, and Camembert—before adding any accompaniments. This anchors the board and defines the space you have to work with.
Position your cheeses in a triangle or scattered cluster across the board. Leave room between them so guests can cut directly into the wedges without crowding. This prevents the "cheese avalanche" where items get pushed off the edge as the board fills up.
Fold cured meats like prosciutto or salami loosely near the cheeses. Avoid laying them flat; folds create texture and visual interest. If you are using smaller cheeses or hard Romano, place them slightly apart from soft Camembert to keep the board from looking too heavy on one side.
Use crackers, nuts, and fresh fruit to fill the empty spaces between the main items. Place crackers in small piles or stacks rather than laying them out in a single line. This creates a more organic, abundant look and makes it easier for guests to grab a handful.
Sprinkle in fresh herbs, olives, or honey for color and flavor contrast. Place small bowls of dips or spreads in the remaining corners. Ensure you have enough serving knives for the hard cheeses, especially the Romano, to keep flavors distinct.
The key to a successful layout is negative space. Do not try to cover every inch of the personalized cheese board with food. Empty space allows the eye to rest and makes the arrangement look intentional rather than cluttered. Step back and check the balance before adding the final garnishes.
Common mistakes to avoid
Even the best ingredients fail if the presentation undermines them. The most frequent error is overcrowding. When you pack Taleggio, Romano, and Camembert too tightly, guests cannot reach the cheeses without disturbing the entire arrangement. Leave breathing room between each wedge. This open layout invites guests to take what they want without creating a domino effect of falling crackers or spilled nuts.
Temperature control is equally critical. Soft cheeses like Camembert and Taleggio must sit at room temperature to release their full aroma. If you serve them straight from the refrigerator, the fats remain locked, and the flavors taste muted. Pull these cheeses out 30 minutes before guests arrive. Hard cheeses like Romano are more forgiving but still benefit from warming slightly to improve texture.
Another pitfall is using the wrong knives. Cutting Camembert with a standard dinner knife can crush the rind and smear the creamy interior. Use a soft cheese knife with a bulbous tip to lift and slice cleanly. Similarly, avoid slicing Romano with a blade meant for soft cheeses; it will crumble unpredictably. Matching the tool to the cheese preserves the integrity of each bite.
Leave space between cheeses. Allow guests to reach items without disturbing the entire board.
Remove soft cheeses 30 minutes early. Serve Taleggio and Camembert at room temperature.
Match the blade to the cheese. Use soft cheese knives for Camembert and sturdy blades for Romano.
Frequently asked: what to check next
Here are quick answers to the most common questions about building personalized cheese boards and sourcing the right items.
No comments yet. Be the first to share your thoughts!