


What makes a cheesie different
A cheesie is a specific Chicago-style grilled cheese sandwich that distinguishes itself from the standard version through its construction and cheese selection. While a traditional grilled cheese relies on a single slice of cheese melted between two pieces of bread, a cheesie stacks multiple types of cheese, often including processed varieties like American or Velveeta, alongside aged cheddar or provolone. This layering creates a denser, more molten interior that holds together even when the sandwich is cut in half.
The term originates from Cheesie's Pub & Grub, Chicago’s first dedicated grilled cheese restaurant, which popularized the concept in the city’s Lakeview neighborhood. It is important not to confuse this Chicago specialty with the Canadian "cheesie," which is essentially a poutine variant featuring cheese curds and gravy. The Chicago cheesie is strictly a sandwich, defined by its crispy, butter-fried exterior and the deliberate contrast between the crunchy bread and the gooey, multi-layered cheese center.
When you order a cheesie, you are expecting a structural integrity that standard grilled cheeses often lack. The bread is typically sliced white or sourdough, pressed until golden brown, and fried in butter rather than oil to ensure a rich, even crust. The internal cheese blend is the star, designed to stretch and pull without becoming greasy or separating. This specific combination of technique and ingredients is what makes the cheesie a distinct culinary category rather than just a fancy grilled cheese.
Gather your ingredients and tools
Making a cheesie like Chicago’s Cheesie’s Pub & Grub starts with the right setup. You need a cast iron skillet to hold the heat, a sharp serrated bread knife to cut the loaf without crushing it, and a cheese that melts into a gooey blanket. The specific cheese blend is what turns a sandwich into a cheesie.
The Essentials
Start with a sturdy, fresh loaf of white bread. Cheesie’s uses a thick, soft white bread that can soak up cheese without falling apart. Look for a bakery-style loaf rather than pre-sliced sandwich bread for the best texture. You will also need a cast iron skillet or a heavy-bottomed pan to get that signature crispy, cheesy crust.
The Cheese Blend
The heart of the cheesie is the cheese. You cannot use a single type of cheddar. You need a blend of sharp cheddar and American cheese. The sharp cheddar provides the bold, tangy flavor, while the American cheese acts as the binding agent, creating that stretchy, molten consistency. Grate your own block of cheese for the smoothest melt; pre-shredded cheese contains anti-caking agents that can make your cheesie grainy.
Tools You’ll Need
- Cast Iron Skillet: Essential for even heat distribution and creating the crispy bottom.
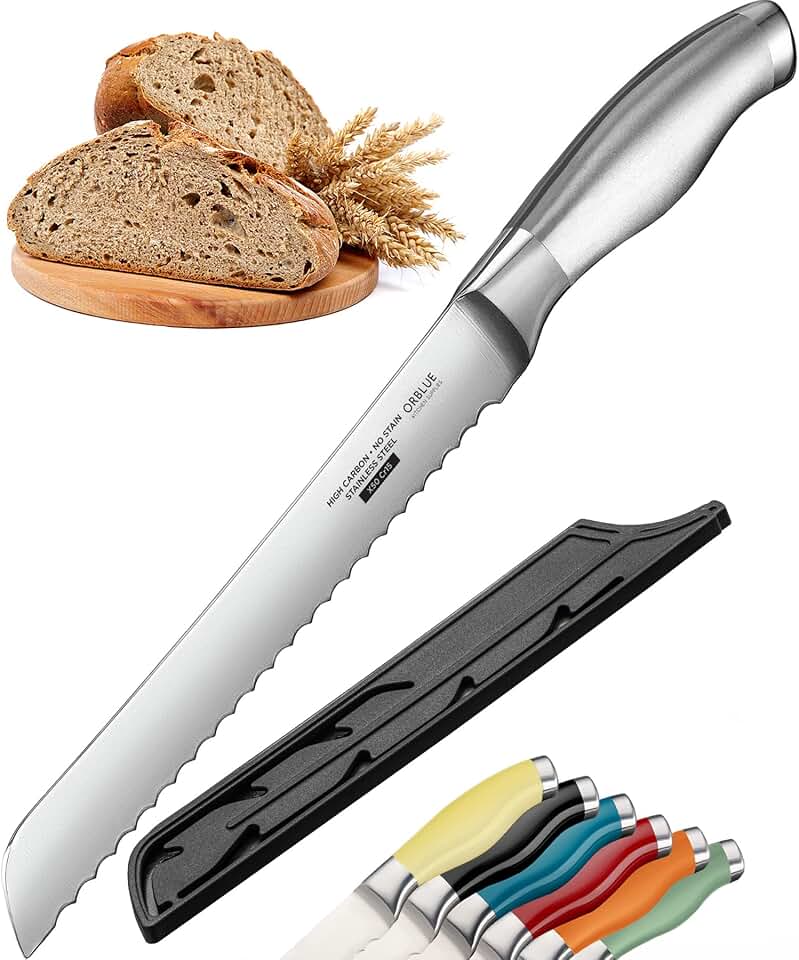
- Serrated Bread Knife: Cuts through the crust cleanly without squishing the soft interior.
- Box Grater: For fresh, consistent shreds of cheddar and American cheese.
As an Amazon Associate, we may earn from qualifying purchases.
Assemble the cheesie sandwich
Building a cheesie is less about baking and more about construction. The goal is a high cheese-to-bread ratio where the bread acts merely as a vessel for the melt. At Cheesie’s Pub & Grub, the signature style relies on a thick, uniform layer of cheese that covers the entire surface of the bread, creating a crispy, golden crust when grilled.
Start with two slices of sturdy white bread. Do not use thin sandwich bread; it will collapse under the weight of the cheese and become soggy. Spread a thin, even layer of softened butter on the outside of both slices. This butter layer is critical—it provides the fat needed to fry the bread to a deep golden brown while sealing in the heat to melt the interior.
Layer the cheese
Place one slice of bread, butter-side down, on your cutting board. Pile shredded cheese directly onto the unbuttered side. You want a generous amount here—roughly one cup of shredded cheese per sandwich. The cheese should form a continuous blanket that reaches every edge of the bread. This ensures that when you flip the sandwich, the cheese adheres to the top slice as well, creating a sealed pocket of molten dairy.
Add fillings (optional)
While the classic cheesie is pure cheese, Cheesie’s menu offers variations like the Chili Smashed Cheesie or the Chili Mac Smashed Cheesie. If you are adding fillings, place them in the center of the cheese layer. Keep fillings moderate; too much bulk prevents the cheese from melting evenly and can cause the sandwich to fall apart. The cheese must still act as the structural glue holding the fillings in place.
Seal and press
Place the second slice of bread on top, butter-side up. Press down firmly with your palm to compress the sandwich. This step is non-negotiable. Compression eliminates air pockets, ensuring the top and bottom slices of cheese bond together when melted. A loose sandwich will leak cheese onto the pan and result in a dry, disjointed bite. Your cheesie sandwich is now ready for the griddle.
Cook until golden and crispy
The difference between a good grilled cheese and a true Cheesie-style sandwich comes down to the crust. You need a texture that shatters when you bite it, not one that just browns. Achieving this requires treating the pan like a griddle rather than a skillet. The goal is to drive moisture out of the bread surface while the cheese inside reaches a molten state.
Start by heating your pan over medium-low heat. This might feel counterintuitive if you are used to high heat, but a lower temperature gives the butter time to penetrate the bread without scorching. You want the butter to sizzle gently, not smoke. If the pan is too hot, the outside will burn before the cheese has a chance to melt. Let the butter foam and then settle; that is your cue that the heat is stable.
Place your sandwich in the pan. Do not touch it for three minutes. This resting period allows the starch in the bread to undergo the Maillard reaction, creating those deep, golden-brown patterns. If you move the sandwich too early, you will tear the crust and lose the structural integrity of the sandwich. The cheese should be beginning to soften during this time, but the bread is doing the heavy lifting.
Flip the sandwich carefully. The first side should be a uniform dark gold, similar to the color of a well-toasted sourdough. If it is pale, give it another minute. If it is black, you need to start over with lower heat. Once flipped, press down gently with your spatula. This ensures even contact with the pan surface, which is critical for that signature crispy exterior.
Cook the second side for another three to four minutes. Keep an eye on the edges; they are the first to burn. When the second side matches the first, remove the sandwich immediately. Let it rest on a cutting board for two minutes before slicing. This brief pause allows the molten cheese to set slightly, preventing it from sliding out when you cut into it, ensuring every bite has that perfect balance of crunch and goo.
Common mistakes to avoid
Making a Cheesie isn't just about melting cheese; it's about controlling heat and moisture. The difference between a soggy, lukewarm sandwich and a crispy, golden masterpiece lies in the details. Avoid these common pitfalls to get that signature Chicago pub taste right in your own kitchen.
Soggy bread from too much moisture
The biggest enemy of a good Cheesie is water. If you add fresh tomatoes, pickles, or wet sauces directly to the sandwich, the steam will soften the bread before it crisps. Cheesie's original style relies on the structural integrity of the bread to hold the heavy cheese. Keep your fillings dry. If you want acidity, use a small amount of sharp cheddar or a light sprinkle of dried herbs instead of wet condiments.
Burnt crust from high heat
It is tempting to crank up the stove to get a quick melt, but high heat burns the butter before the cheese has time to go fully molten. You end up with a charred exterior and a cold, clumpy center. Use medium-low heat. Let the butter toast the bread slowly. Patience creates the even, golden-brown crust that defines the Cheesie experience.
Under-melted cheese
Using pre-shredded cheese is a shortcut that often leads to a dry, grainy texture. These bags contain anti-caking agents that prevent the cheese from flowing smoothly. Shred your own block of cheddar or American cheese. Better yet, use a lid. Placing a lid on the pan traps steam, helping the cheese melt evenly without requiring you to flip the sandwich prematurely. This technique mimics the professional press used in Chicago kitchens.
Serve with classic sides
The magic of a Cheesie’s Pub & Grub experience isn’t just the sandwich; it’s the chaotic, delicious combination of toppings and sides that define Chicago pub culture. To recreate that authentic atmosphere at home, you need to pair your smashed cheeseburger with the specific accompaniments that Cheesie’s is famous for. This isn’t about gourmet plating—it’s about comfort, heat, and carb-heavy satisfaction.
Chili and Macaroni
Cheesie’s is renowned for its chili and macaroni, which serve as more than just sides—they are essential components of the full meal. You can order a "Chili Smashed Cheesie" or a "Chili Mac Smashed Cheesie," where the burger is essentially topped with these hearty mix-ins. To replicate this, serve a bowl of thick, Cincinnati-style or Ohio-style chili alongside a pot of creamy, buttery macaroni. The saltiness of the cheeseburger cuts through the richness of the chili, while the macaroni provides a soft, comforting counterpoint to the crispy, smashed edges of the patty.
The Chicago Beer Pairing
No Chicago pub meal is complete without a cold beer. Cheesie’s caters to the local palate with a wide selection of domestic and craft brews. A crisp lager or a light pilsner works best here, as the carbonation cleanses the palate between bites of the heavy, cheesy burger. Avoid overly hoppy IPAs, which can clash with the intense cheddar and beef flavors. Instead, opt for a beer that is refreshing and easy to drink, matching the casual, no-frills vibe of the Belmont Avenue location.
Simple Slaw and Fries
While the chili and mac are the stars, a simple side of fries or a light coleslaw adds necessary texture. The crunch of a well-salted fry contrasts with the soft, gooey interior of the cheesie. If you prefer something lighter, a vinegar-based coleslaw offers a sharp, acidic bite that balances the fat of the cheese and beef. Keep the sides simple; the focus should remain on the signature smashed burger and its signature toppings.
No comments yet. Be the first to share your thoughts!