

Pick the right cheese knives
The foundation of a great board is the dairy, not the crackers or jams. Placing the cheese first creates a visual map for your guests, turning a random pile of snacks into a curated experience. Think of your cheese selection like the lineup at Cheesie's Pub & Grub: you want a mix of familiar favorites and bold, distinctive flavors that stand on their own.
Step 1: Place the strongest cheeses first
Identify the cheeses with the most intense flavors or distinct textures—such as aged cheddar, blue cheese, or a sharp goat cheese. Place these pieces slightly off-center or at the four corners of your board. This prevents them from getting lost among milder options and ensures they remain the stars of the show. By positioning these boldly, you signal to your guests that this is a board worth exploring, much like how Cheesie’s builds its menu around standout, cheesy creations.
Step 2: Add medium and mild cheeses
Once the bold cheeses are placed, fill in the remaining space with medium and mild varieties. Semi-hard cheeses like Gouda, Havarti, or a young Cheddar work well here. Cut these into uniform shapes, such as wedges or cubes, to create a sense of order. This step balances the board visually and ensures there is something for everyone who might prefer a gentler taste. The goal is to create a gradient of intensity that guides the palate from mild to strong.
Step 3: Finish with soft cheeses
Place soft cheeses, such as Brie, Camembert, or fresh mozzarella, last. These delicate options are often served in rounds or wedges and benefit from being placed in the open spaces left by the firmer cheeses. Because they are easier to spread or dip, their placement should be accessible. If you are serving soft cheese in a small bowl, nestle it into a gap between the harder cheeses to keep the board cohesive.
Step 4: Check for balance
Step back and assess your board. Do you have a variety of colors and shapes? Is there enough of each cheese to serve your guests comfortably? A good rule of thumb is to offer three to five types of cheese for a small gathering. Ensure that no single cheese dominates the visual space. The arrangement should look abundant but organized, inviting guests to mix and match just as they might combine different fillings in a gourmet grilled cheese sandwich.
Fill gaps with accompaniments
With your cheeses placed, the board now has anchors but likely feels sparse. Think of these empty spaces as negative space in a painting; they need texture and color to balance the composition. This is where you introduce crackers, fresh fruits, and nuts to bridge the gaps and provide contrasting flavors.
Crackers as the base
Crackers serve as the structural foundation of your board. Choose a variety of textures to complement the cheeses you’ve selected. Water crackers work well with soft, creamy cheeses, while seeded crispbreads add crunch against harder, aged varieties. Avoid overly flavored crackers that might compete with the cheese; neutral or lightly salted options let the primary flavors shine.
Fresh fruits for brightness
Fresh fruits add a pop of color and a necessary acidic contrast to rich dairy. Grapes, apple slices, and figs are classic choices that pair effortlessly with most cheese profiles. Arrange them in small clusters to fill larger voids on the board. For a modern twist, consider dried fruits like apricots or cranberries, which offer a chewy texture and concentrated sweetness that balances sharp cheddar or blue cheese.
Nuts for crunch
Nuts introduce a savory, earthy element that rounds out the flavor profile. Walnuts, almonds, and pecans are versatile options that pair well with both soft and hard cheeses. Scatter them loosely around the board to create visual interest and provide a crunchy counterpoint to the smoothness of the cheese. This step not only fills visual gaps but also ensures your guests have a complete sensory experience with every bite, much like the balanced flavors found in a well-crafted Cheesie’s grilled cheese sandwich.
Add final garnishes and labels
The final touches turn a good board into a memorable one. Think of garnishes as the punctuation marks of your plating—they define the flavor profile and guide the eye. A drizzle of honey or a scattering of fresh herbs signals to your guests how to interact with the cheese, much like the clear, fun presentation at Cheesie’s Pub & Grub, where every element has a purpose.
Start with the wet accents. A small ramekin of honey, fig jam, or chili crisp adds a glossy contrast to the matte texture of the cheese. Place these off-center to break up the symmetry, creating a dynamic, modern look that feels intentional but relaxed. This is the "modern host" approach: elevated but approachable.
Next, add the greenery. Fresh rosemary, thyme, or edible flowers provide a pop of color and an aromatic cue. Sprinkle them sparingly around the edges or tuck them between cheese wedges. Avoid burying the cheese; the garnish should frame the star, not hide it. A few sprigs of rosemary near a sharp cheddar suggest warmth and comfort, while mint near a goat cheese hints at freshness.
Finally, identify your cheeses. Personalized labels are a hallmark of a thoughtful spread. Use small wooden picks or handwritten cards to name each variety. This isn’t just practical; it’s part of the experience. It invites conversation and helps guests understand the flavors, ensuring no one misses a unique taste. The goal is clarity and charm, making every bite feel curated.
Common plating mistakes to avoid
Even the best cheese selection can fall flat if the presentation feels cluttered or careless. Modern hosting relies on visual breathing room, allowing each ingredient to speak for itself. Avoid these frequent errors to keep your board inviting and functional.
Overcrowding the board
A packed board looks chaotic and makes it difficult for guests to find what they want. Leave ample negative space between cheeses and accompaniments. Think of your board like a canvas; you need empty space to make the colors pop. If you have too much food, scale back the variety or use multiple small boards instead of one massive, crowded platter.
Using the wrong knives
Cheese is not a one-size-fits-all cutting job. Using a standard dinner knife will crush soft bries and crumble hard aged cheeses. Invest in a proper cheese knife set or at least a small paring knife for soft varieties and a serrated blade for hard cheeses. This simple tool change ensures clean cuts and maintains the texture of your ingredients.
Ignoring the flow
A random scatter of items looks messy rather than artistic. Group cheeses by type—soft, semi-soft, hard, and blue—so guests can easily find what they prefer. Place crackers and breads in clusters near the cheeses they complement. This logical flow helps guests build their perfect bite without hunting across the board.
-
Leave 1-2 inches of empty space between cheese groups
-
Assign a specific knife for soft and hard cheeses
-
Group crackers and breads near their matching cheeses
-
Place nuts and dried fruits in small bowls to prevent rolling
Frequently asked: what to check next
Helpful gear
Use these product recommendations as a starting point, then choose the size, material, and price point that fit how you actually use the gear.
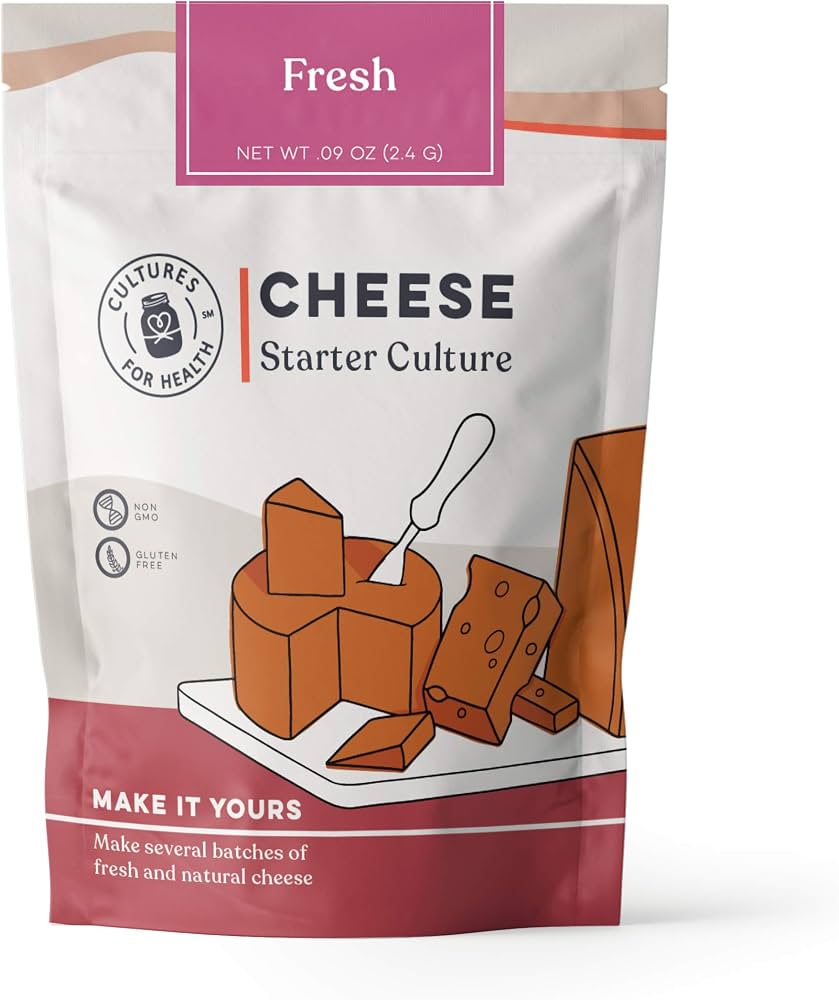
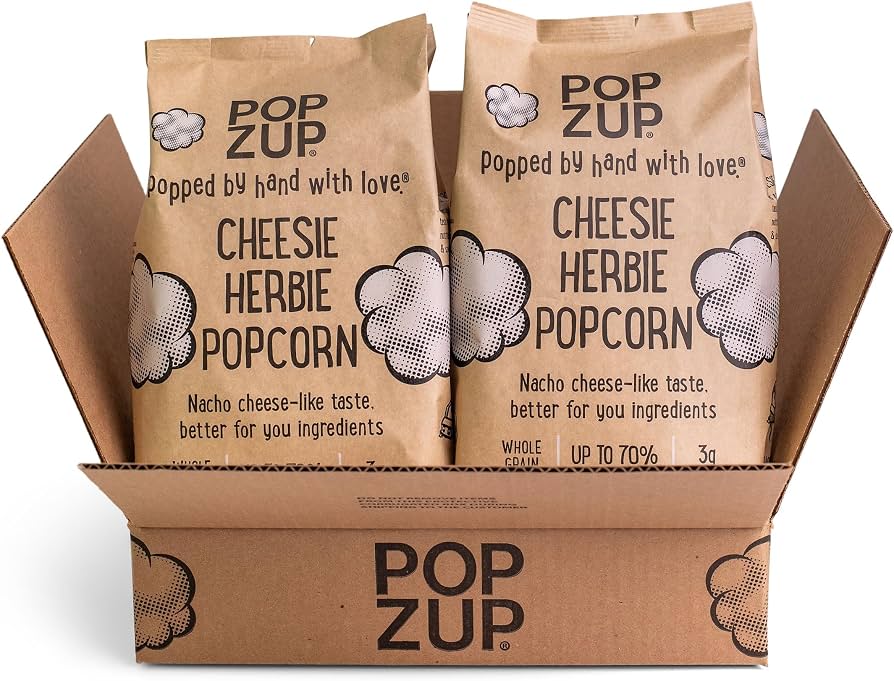
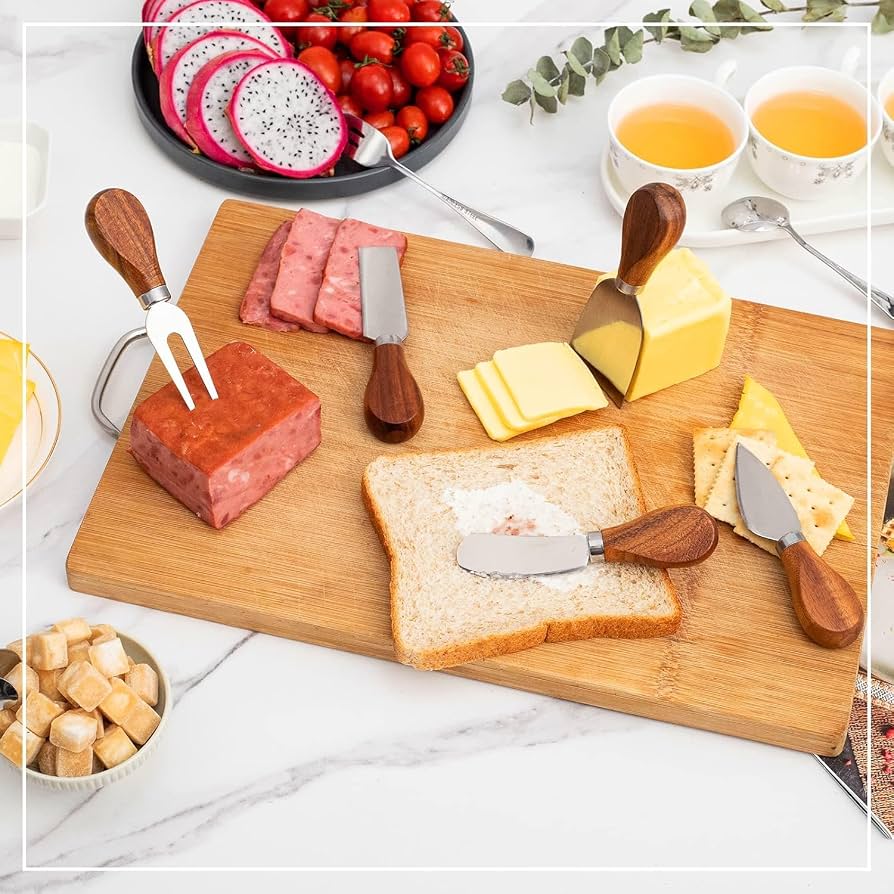
As an Amazon Associate, we may earn from qualifying purchases.
Work through 's to Styling Personalized Cheese Boards for the Modern Host
No comments yet. Be the first to share your thoughts!