• Properly cleaning your cheese tools after each use is essential to prevent bacteria growth and flavor cross-contamination.
  • Understanding the specific care instructions for each type of cheese tool is crucial for their longevity.
  • Regularly sharpening your cheese knives keeps them in prime condition for clean cuts and safety.
  • Proper storage of cheese tools helps prevent blade dulling and corrosion, with options like magnetic strips and knife blocks.

As a connoisseur of all things cheese, you know that the right tools can elevate your cheese experience from good to great. But even the finest cheese slicers and knives require proper care to ensure they stay sharp and effective for all your slicing needs. In this article, we'll explore essential maintenance tips that will help you keep your cheese tools in top condition, ensuring that every slice of Gouda or wedge of Brie is cut with precision and ease.

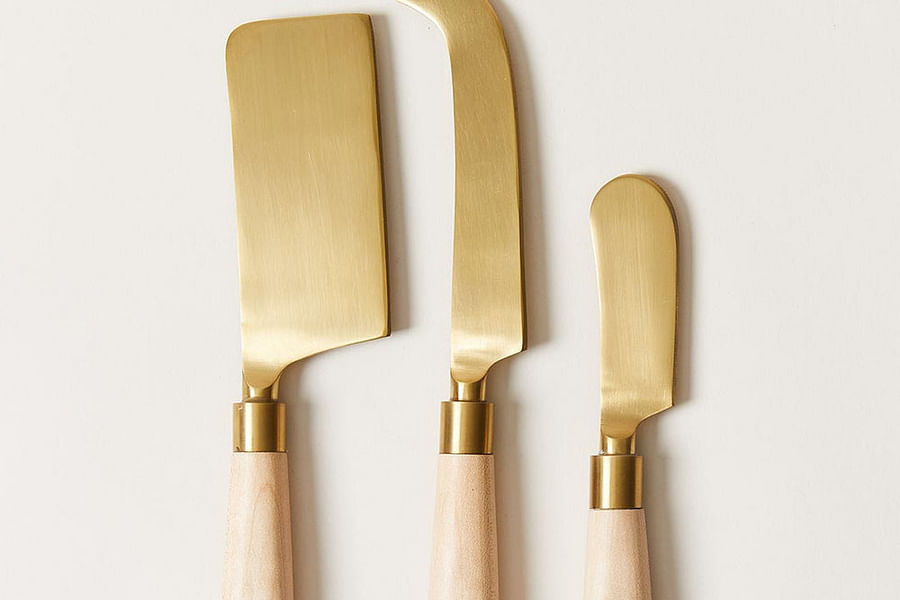
Understanding Your Cheese Tools

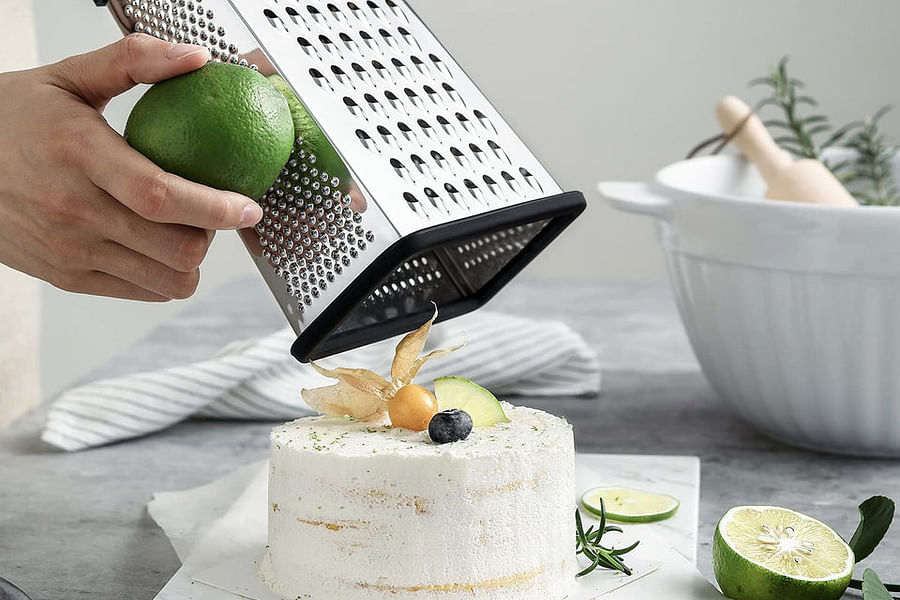
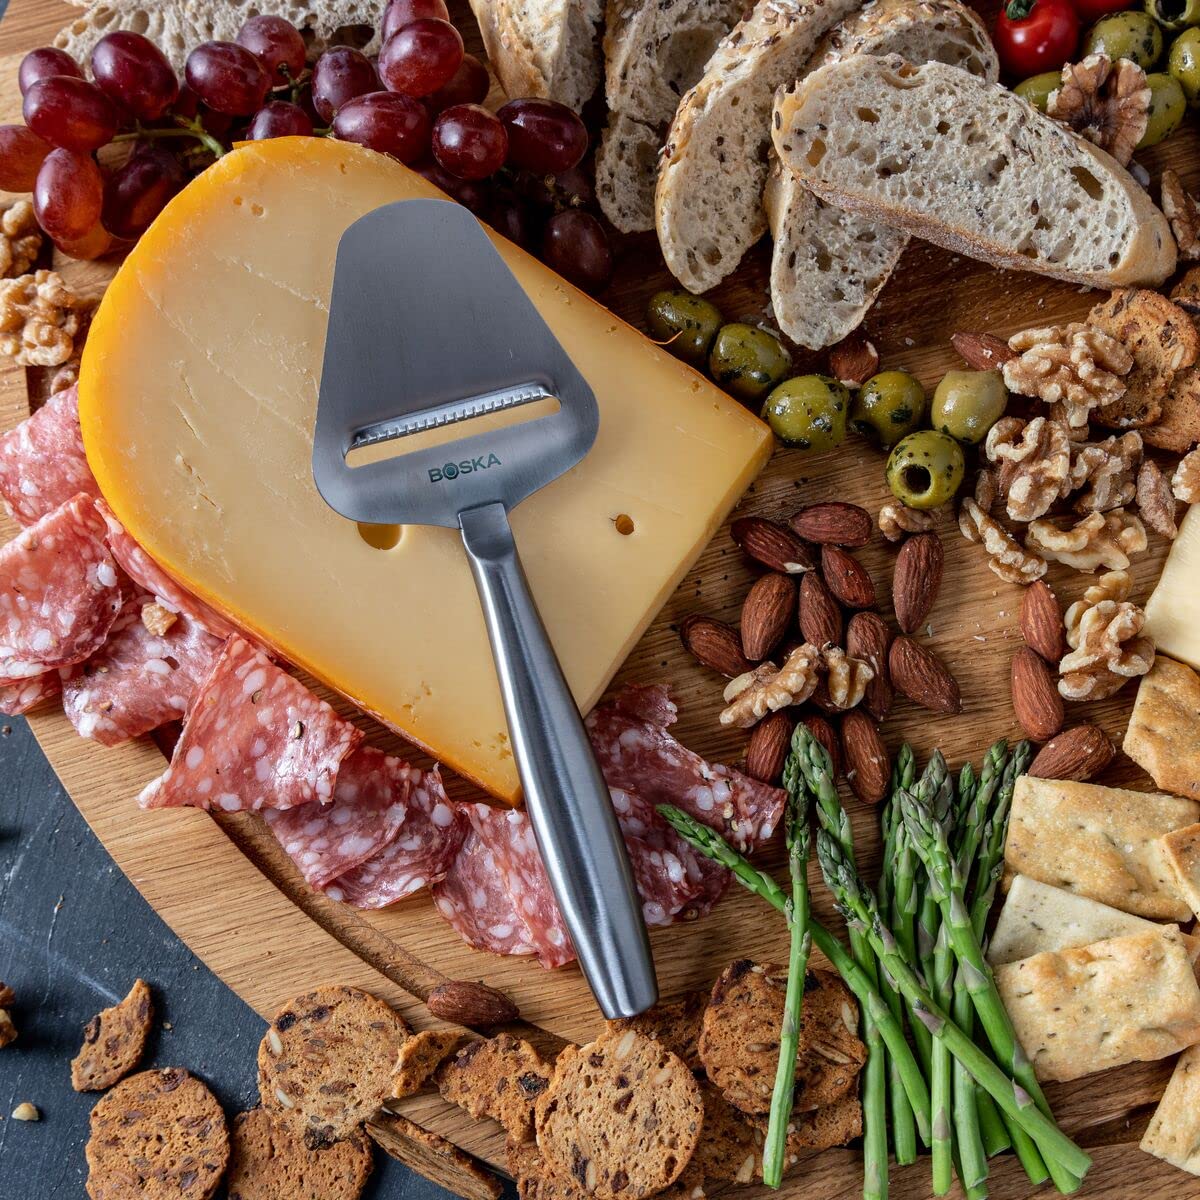
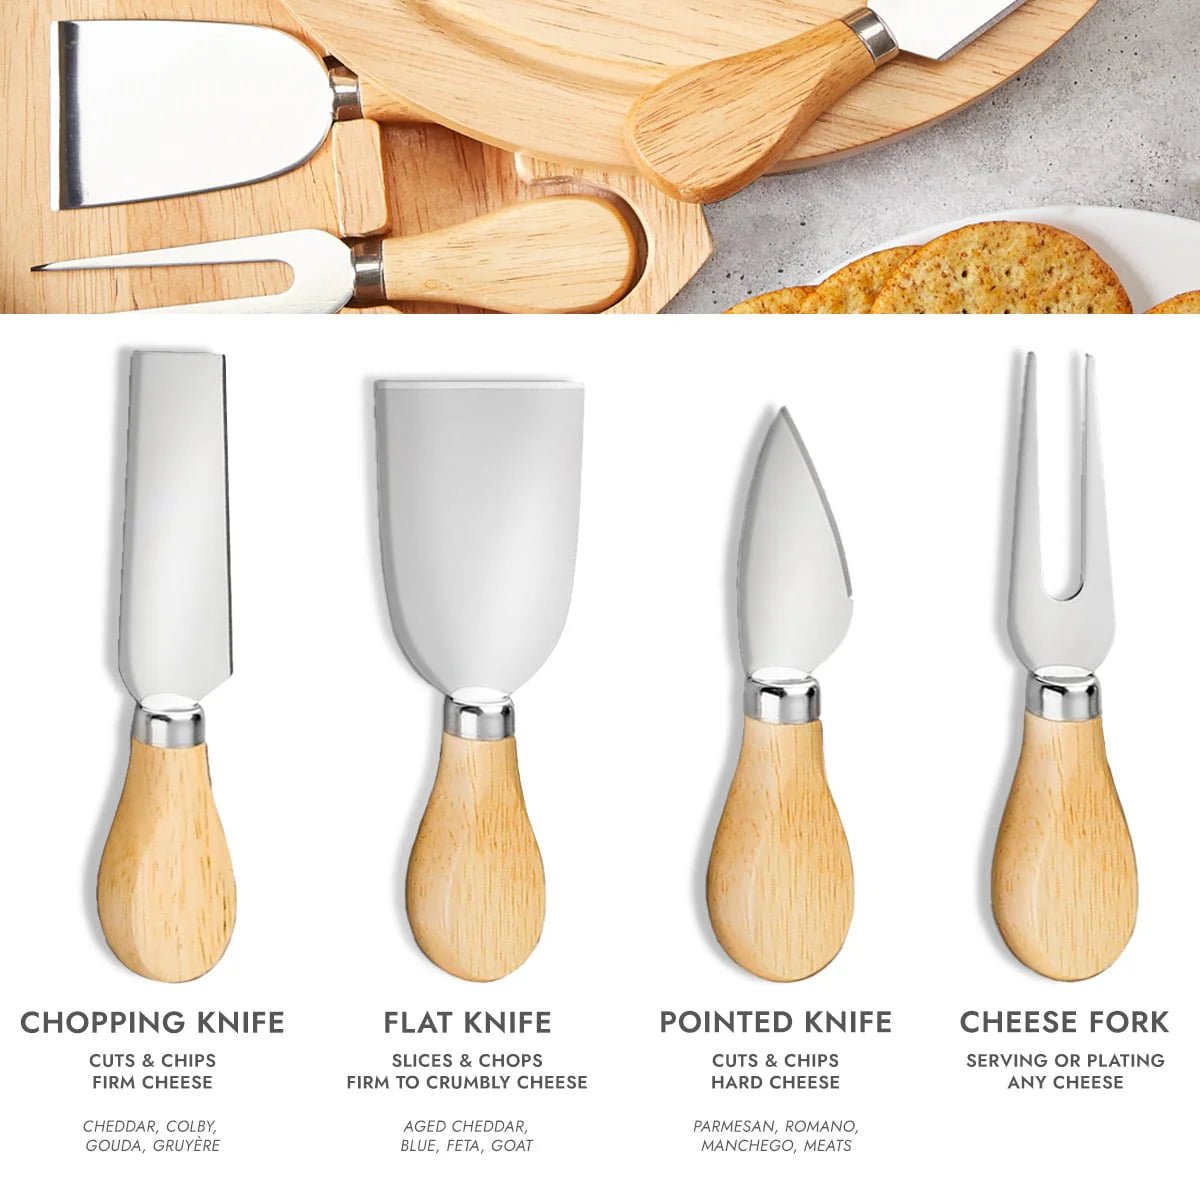
Before diving into maintenance, it's crucial to understand the types of tools you're working with. Cheese tools vary greatly, from wire cutters designed for soft cheeses to sturdy knives for hard varieties like Parmesan. Each tool has its own set of care instructions, which are vital to follow for longevity. Wire slicers, for instance, are delicate and require careful handling, while stainless steel knives might be dishwasher safe but could benefit from hand washing to maintain their edge. It's a dance of knowing your tools and treating them accordingly.

Cleaning Your Cheese Tools

Proper cleaning is the first step in maintaining your cheese tools. After each use, it's important to clean them thoroughly to prevent bacteria growth and flavor cross-contamination. For most cheese knives and slicers, warm soapy water will do the trick. However, certain materials like wood handles or specialty blades may require specific cleaning methods. For those interested in deeper insights into cleaning techniques for various types of tools, I recommend exploring our guide on mastering the cheese slicer. It provides a step-by-step approach tailored to different slicer types.

Cheese Tool Care: A Step-by-Step Cleaning Guide

cheese tools being brushed off with a soft-bristle brush
Pre-Clean Your Tools
Start by removing any large cheese remnants from your tools using a soft-bristled brush or a cloth. This will make the washing process easier and more effective.
washing cheese tools by hand in soapy water
Hand Wash with Care
Fill a sink with warm, soapy water. Gently hand wash your cheese tools, being careful with sharp edges. Use a soft sponge to avoid scratching the surfaces. Rinse thoroughly with clean water.
drying cheese tools with a towel
Dry Immediately
After washing, dry your cheese tools immediately with a clean, dry towel to prevent water spots and rusting. Pay special attention to the crevices where water can collect.
soaking cheese tools in a sanitizing solution
Sanitize When Necessary
For a deeper clean, especially after use with soft cheeses that can leave more residue, consider sanitizing your tools. You can use a food-safe sanitizer or a diluted bleach solution (1 tablespoon of bleach per gallon of water). Soak for a few minutes, rinse well, and dry thoroughly.
sharpening a cheese knife with a honing rod
Sharpen Your Knives
Keep your cheese knives sharp for easy and safe cutting. Use a honing rod or sharpening stone regularly, following the manufacturer's instructions for best results.
storing cheese tools in a drawer with dividers
Store Properly
Once clean and dry, store your cheese tools in a dry place. If possible, hang them or place them in a dedicated drawer with dividers to prevent damage.
inspecting cheese tools for wear and damage
Regular Maintenance Checks
Periodically check your tools for any signs of wear or damage. Tighten any loose handles or screws to ensure safety and efficiency during use.

Sharpening Your Cheese Knives

A dull knife can ruin the texture of your cheese and make cutting more dangerous. Regular sharpening keeps your blades in prime condition so you can slice through even the toughest rinds with ease. There are several methods for sharpening knives, from honing rods to whetstones or even sending them out for professional sharpening. For those who have never sharpened a knife before or need a refresher course, our guide on mastering the art of cheese cutting includes tips on maintaining a razor-sharp edge on your cutting implements.

Cheese Tool Sharpening Schedule & Techniques

  • Determine the type of cheese knife or slicer you have to establish the appropriate sharpening frequency🔍
  • For frequently used cheese knives, sharpen every 1-2 months to maintain optimal performance📅
  • For less frequently used tools, sharpening every 6 months may suffice🗓️
  • Inspect your cheese tools before each use for dullness or damage👀
  • Use the proper sharpening stone grit for your knife – start with a coarser grit and finish with a finer grit🪨
  • Hold the knife at the correct angle (usually 15-20 degrees) to the sharpening stone for effective sharpening📐
  • Use gentle, consistent strokes when sharpening – let the stone do the work
  • Clean your knife thoroughly after sharpening to remove any metal filings💦
  • Test the sharpness of your knife on a piece of parchment paper or a tomato🍅
  • Store your sharpened cheese tools properly to protect the edge🔒
  • Consider professional sharpening annually for high-quality cheese tools💼
Congrats, you've honed your skills in cheese tool maintenance!

Storing Your Cheese Tools Properly

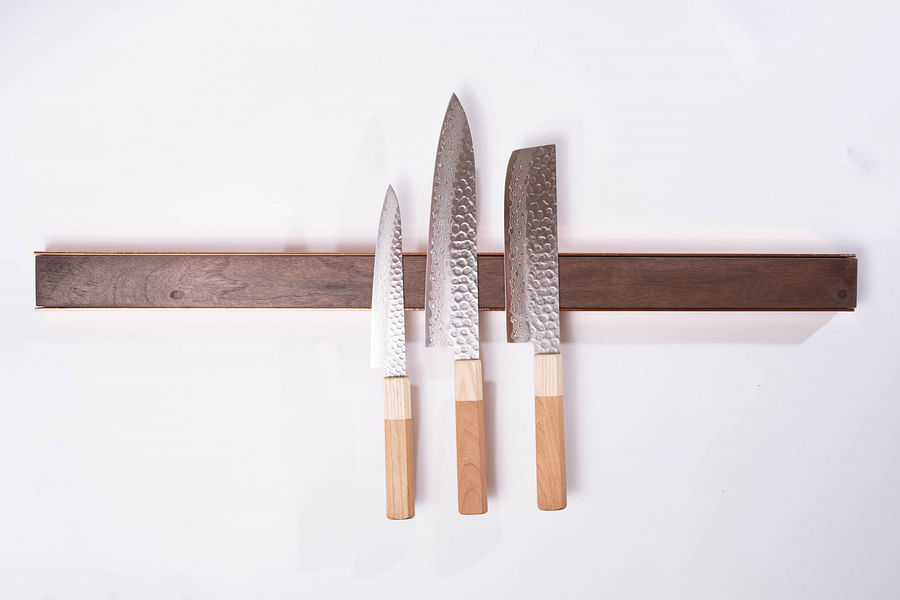
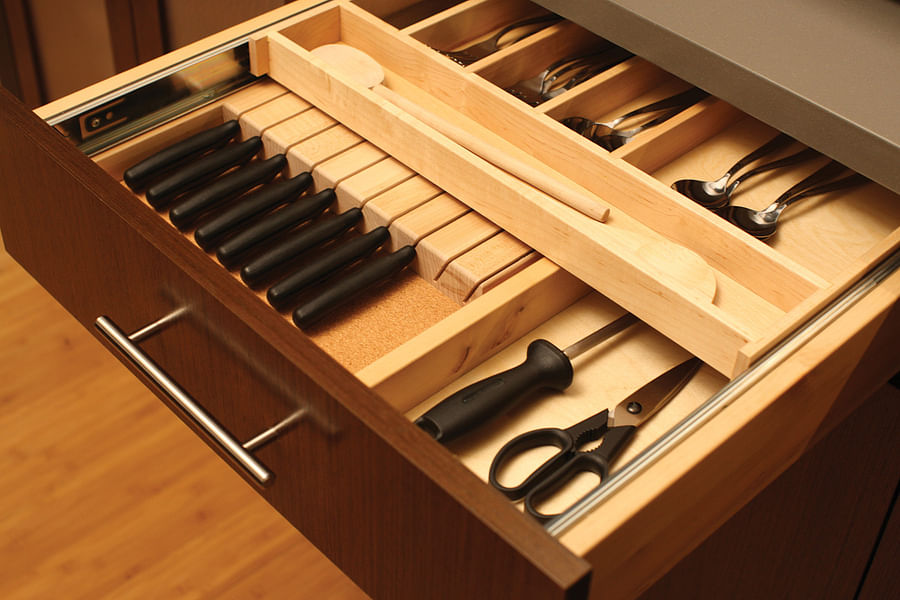
Storage is often an overlooked aspect of tool maintenance but is just as important as cleaning and sharpening. Proper storage ensures that your tools are protected from damage and ready for use whenever you need them. For example, magnetic strips can be an excellent way to store metal blades without dulling them, while wooden blocks can protect edges from chipping. To help you select the best storage solution for your collection of cheese tools, consider taking our interactive Cheese Tools Mastery Quiz. It will assess your needs and preferences to offer personalized recommendations.

Cheese Tool Storage

  1. magnetic knife strip
    Magnetic Knife Strip - A sleek way to display and store cheese knives safely.
  2. cheese knife block
    Knife Block - Protects the blades of cheese knives from dulling.
  3. drawer knife organizer
    Drawer Knife Organizer - Keeps cheese tools organized and fingers safe.
  4. cheese board with tool compartment
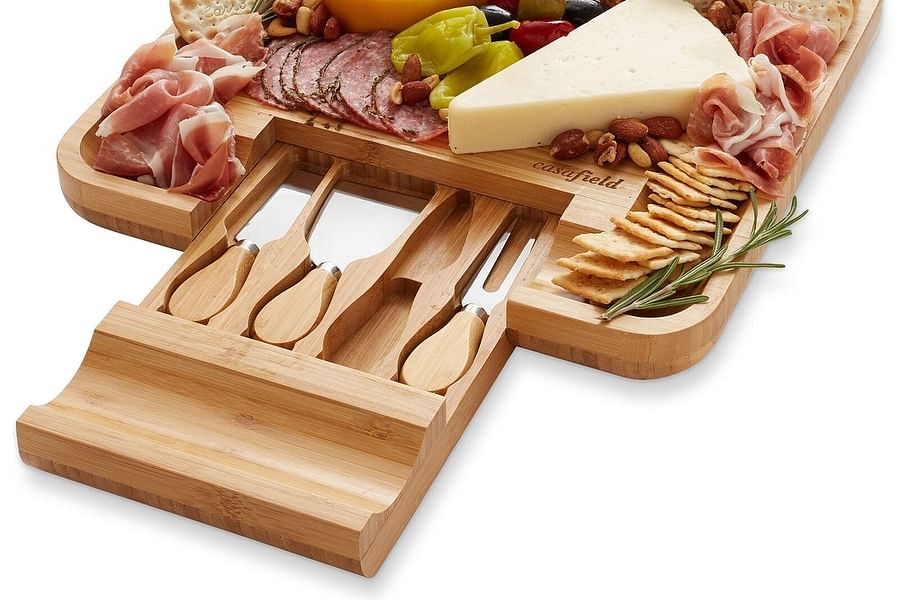
    Cheese Board with Tool Compartment - Offers convenience and easy access during serving.
  5. roll-up knife bag for cheese tools
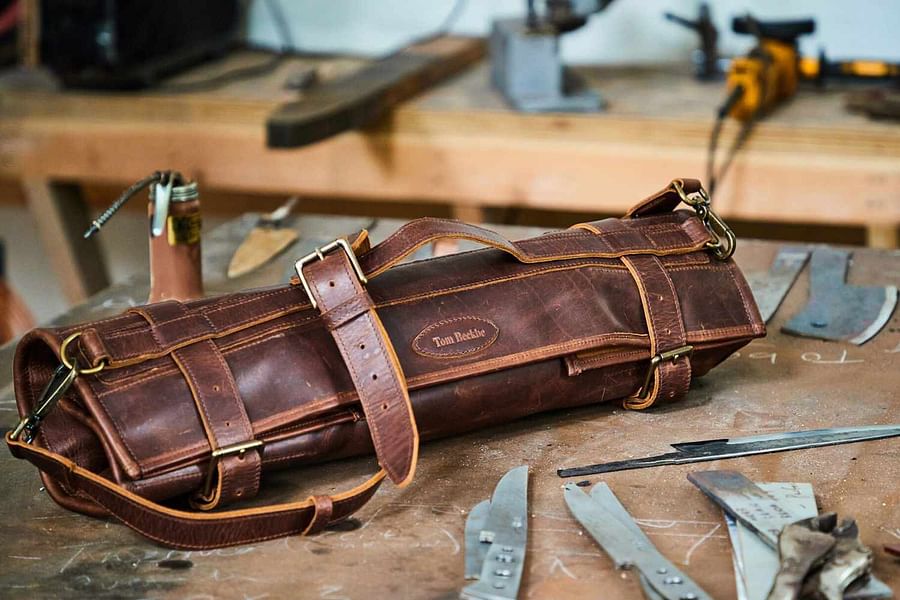
    Roll-Up Knife Bag - Ideal for chefs and enthusiasts on the go.
  6. wall-mounted tool rack
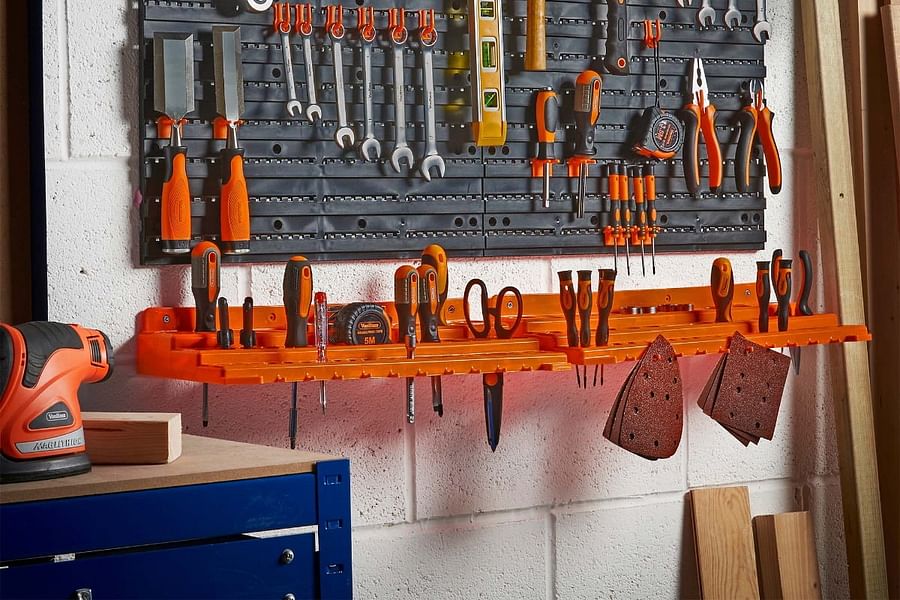
    Wall-Mounted Tool Rack - Space-saving and easy to install for hanging cheese tools.
  7. utensil holder for kitchen
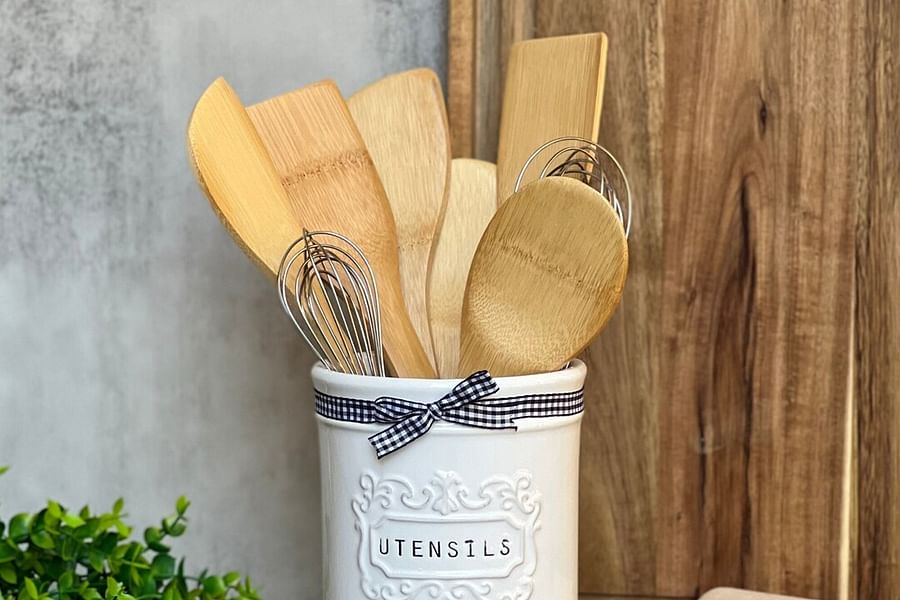
    Utensil Holder - Versatile and can be used for cheese spreaders and other small tools.
  8. specialized cheese tool box
    Specialized Cheese Tool Box - Custom designed to fit specific cheese tools for protection and organization.

Maintaining your collection of cheese slicers and knives may seem daunting at first glance. However, with these practical steps in place—understanding your tools' specific needs, cleaning them properly after each use, keeping them sharp, and storing them correctly—you'll ensure that they last for many delicious years to come.

Incorporating these practices into your routine doesn't just prolong the life of your utensils; it also enhances safety in the kitchen. A well-maintained knife is less likely to slip or require excessive force—both common causes of accidents.

To continue learning about how best to care for other culinary instruments beyond our cheesy realm, take a look at this insightful piece on maintaining woodworking tools. The principles outlined there apply surprisingly well to our specialized niche.

In our next section we will delve deeper into advanced care techniques including how often you should replace certain components like wires on slicers or when it's time to retire a beloved knife—and how doing so can actually be an opportunity rather than a loss.

Storing Your Cheese Tools

Proper storage is as crucial as cleaning when it comes to maintaining your cheese tools. Cheese knives and slicers should be stored in a dry area to prevent the blades from dulling and to avoid any form of corrosion. A magnetic knife strip or a dedicated knife block can be ideal for storing knives, while slicers with wire cutters should be kept flat to avoid warping the wire. For additional protection, consider using blade guards or storing your tools in a roll-up knife bag, especially if you have a collection of specialized cheese tools.

For those interested in learning more about the proper use of these tools, our guide on mastering the art of cheese cutting for charcuterie boards offers invaluable insights. And if you're wondering about unique ways to utilize your cheese implements, our article on unique ways to use cheese slicers, knives, and graters will surely inspire you.

Honing and Sharpening

Maintaining a sharp edge on your cheese knives is essential for clean cuts and safety. A dull knife can slip and cause accidents. Honing rods can realign the edge of your knives between uses, while a good sharpening stone or service should be used when they truly dull. It's important not to overlook this aspect of tool care; sharp tools make for precise workmanship in cheese presentation.

Keeping the Edge: Honing and Sharpening Your Cheese Knives

close-up of someone inspecting the blade of a cheese knife
Inspect Your Cheese Knives
Before you begin the honing or sharpening process, inspect your cheese knives for any signs of wear or damage. Look for nicks, uneven edges, or dullness. Understanding the condition of your knife will help you determine the amount of work needed.
washing cheese knives in soapy water
Clean Your Knives
Ensure your cheese knives are clean before you start. Wash them with warm, soapy water and dry them thoroughly. Dirt or residue can affect the sharpening process and potentially damage the blade.
honing rod positioned vertically on a non-slip surface
Prepare the Honing Rod
Hold the honing rod vertically with the tip secured on a non-slip surface. Make sure the rod is stable to prevent any accidents while you're honing your knives.
cheese knife being honed on a rod at a 20-degree angle
Hone the Knife's Edge
Place the heel of the knife against the top of the honing rod at an approximate 20-degree angle. Gently pull the knife down and across the rod, moving towards the tip of the knife. Repeat this process 5-8 times on each side of the blade to realign the edge.
cheese knife slicing through paper to test sharpness
Test the Sharpness
After honing, test the sharpness of your knife by slicing through a piece of paper or a soft tomato. If it cuts easily, the knife is sharp enough. If not, it may need further honing or possibly sharpening.
cheese knife being sharpened on a wet whetstone
Sharpen the Knife (If Necessary)
If honing doesn't restore the edge, use a whetstone to sharpen your knives. Soak the whetstone in water for the recommended time, then place it on a stable surface. Hold the knife at a 20-degree angle and sweep it across the stone from heel to tip. Repeat this process, alternating sides, until the blade is sharp.
cleaning and drying a cheese knife after sharpening
Clean and Dry the Knife
Once your knife is honed or sharpened, clean it again to remove any metal filings and wipe it dry. Proper cleaning after maintenance is crucial to prevent rust and ensure longevity.

If you're eager to test your knowledge on these utensils, try taking our Cheese Tools Mastery Quiz. And don't forget that choosing the right tool is just as important as maintaining it; explore our recommendations at choosing the right cheese slicer.

Oiling Wooden Handles and Boards

Wooden handles on cheese tools and wooden cutting boards require regular oiling to prevent cracking and drying out. Food-safe mineral oil is recommended for this purpose. Apply a small amount of oil onto a clean cloth and rub it into the wood in circular motions until it's well-coated but not overly saturated. Allow it to soak in overnight before wiping off any excess.

Cheese Tool Care: Preserving Your Wooden Handles

How often should I oil the wooden handles of my cheese tools?
To keep your wooden cheese tool handles in tip-top shape, it's best to oil them every three to four weeks, or more frequently if you use them heavily. Regular oiling helps to prevent the wood from drying out and cracking, ensuring that your cheese tools remain both functional and beautiful for years to come.
💧
What type of oil is best for maintaining wooden cheese tool handles?
For maintaining wooden cheese tool handles, food-safe mineral oil is the gold standard. It's odorless, colorless, and won't go rancid over time. You can also use other food-grade oils like beeswax or specialized cutting board creams that are designed for wooden kitchen utensils.
🌿
Can I put my wooden-handled cheese knives in the dishwasher?
It's a resounding no for the dishwasher when it comes to wooden-handled cheese knives. The high heat and moisture in a dishwasher can cause the wood to warp, crack, or even rot. Always hand-wash your cheese tools with mild soap and warm water, and then dry them thoroughly with a soft cloth.
🚫
Is there a special technique to washing wooden cheese tool handles?
When washing wooden cheese tool handles, be gentle and quick. Use a soft sponge with warm, soapy water to clean the handles without soaking them. Rinse immediately and pat dry with a soft cloth. Avoid letting the wood sit in water, as prolonged exposure can damage the material.
🧼
How can I remove stains from my wooden cheese tool handles?
To remove stains from wooden cheese tool handles, you can make a paste of baking soda and water. Gently rub the paste on the stained area with a soft cloth, then rinse and dry thoroughly. For tougher stains, you might consider lightly sanding the wood, followed by oiling to restore its luster.
🛁

Maintaining other types of woodworking tools has similarities with caring for wooden-handled cheese tools; insights can be gleaned from how do you properly maintain and care for your woodworking tools.

Avoid Cross-Contamination

Last but certainly not least, always be mindful of cross-contamination when using your cheese tools. This means cleaning them thoroughly after each use, especially if they have been used with different types of cheeses or other foods like meats or fruits that may go onto a charcuterie board. Keeping your tools dedicated solely to cheese can also help prevent flavors from mingling where they shouldn't.

Cheese Tool Hygiene: A Cross-Contamination Prevention Checklist

  • Use separate cheese tools for different types of cheese to avoid flavor cross-contamination.🧀
  • Clean cheese tools immediately after use to prevent bacterial growth.💦
  • Sterilize cheese tools regularly, especially when used for soft cheeses, to kill any lingering bacteria.🔥
  • Store cheese tools in a dry, clean place to prevent mold and bacteria from developing.🗄️
  • Never use the same cheese tool for cheese and other foods like meats or vegetables.
  • Consider using color-coded cheese tools to keep track of which is used for each type of cheese.🌈
  • Always dry cheese tools thoroughly before storage to avoid moisture buildup.🌬️
  • Inspect your cheese tools regularly for signs of wear and tear that could harbor bacteria.🔍
  • Replace cheese tools that have become chipped, cracked, or pitted as they can trap bacteria.🆕
  • Educate anyone using the cheese tools about proper handling and cleaning to maintain hygiene standards.🎓
Congrats, you've taken a big step towards ensuring your cheese experiences are delicious and safe!

By following these maintenance tips, you can ensure that your beloved collection of cheese knives, slicers, and graters will last through countless tastings and gatherings. And remember, whether you're an experienced connoisseur or just starting out with artisanal cheeses, Cheesie is here to provide guidance every step of the way—from mastering the perfect slice, to serving up an impressive charcuterie spread with the best cheese knives. Happy cheesemaking!

Juliet DuBuque
Cheese making, Farming, Experimentation, DIY

Juliet DuBuque is a passionate artisan cheese maker. She enjoys exploring and experimenting with various cheese-making techniques. Her articles are a treasure trove of insightful tips and practical advice for budding cheese enthusiasts and makers alike.

Post a comment

0 comments