🧀 Mastering the Art of Cheese and Cracker Presentation 🍪
Are you ready to take your cheese and cracker presentation to the next level? At Cheesie, we believe that the art of cheese and cracker presentation is a true culinary masterpiece. With our step-by-step guide, you'll learn how to create a cheese board that is not only visually stunning but also a delight for your taste buds.
Step 1: Choose the Right Board
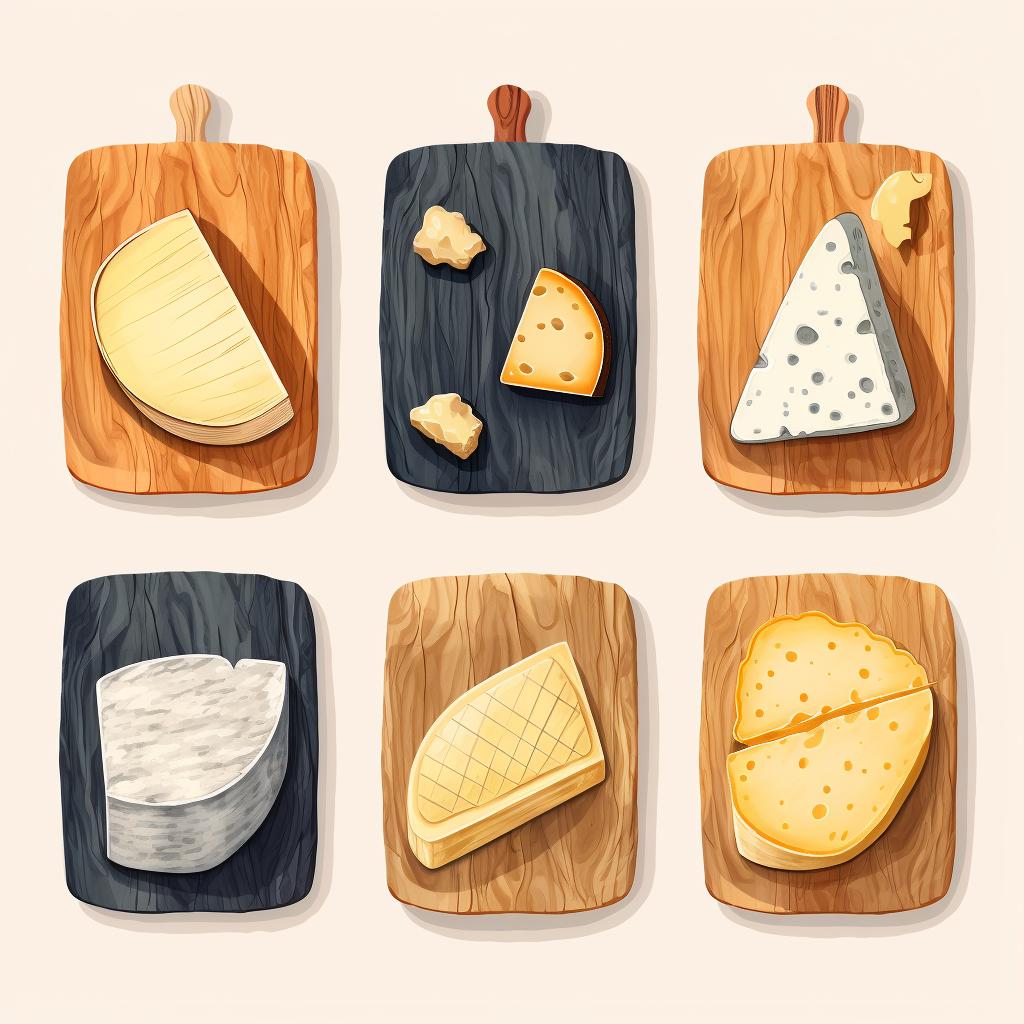
Your cheese board is the canvas for your cheese and cracker art. Whether you prefer the rustic charm of a wooden board, the elegance of a marble board, or the sleekness of a slate board, choosing the right board is essential. Consider your personal style and the occasion when making your selection.
Step 2: Position Your Cheeses
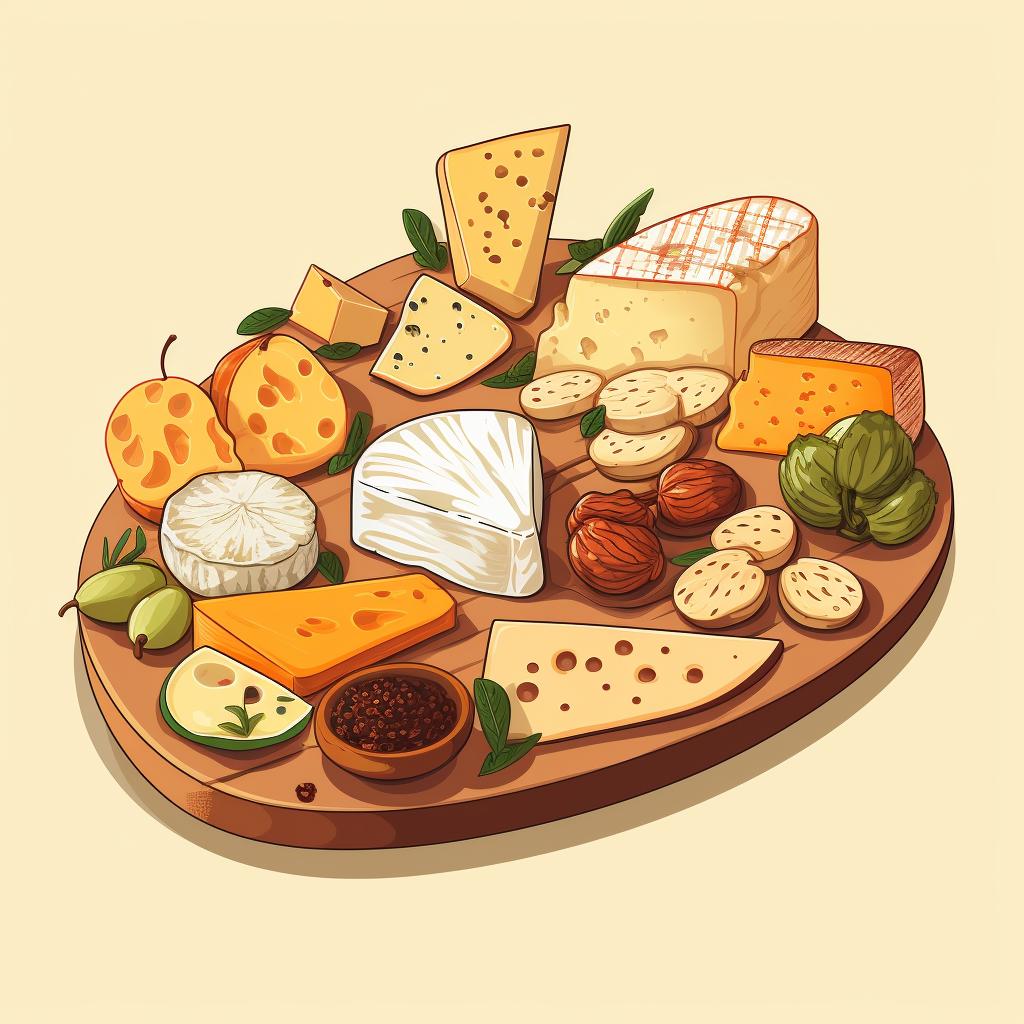
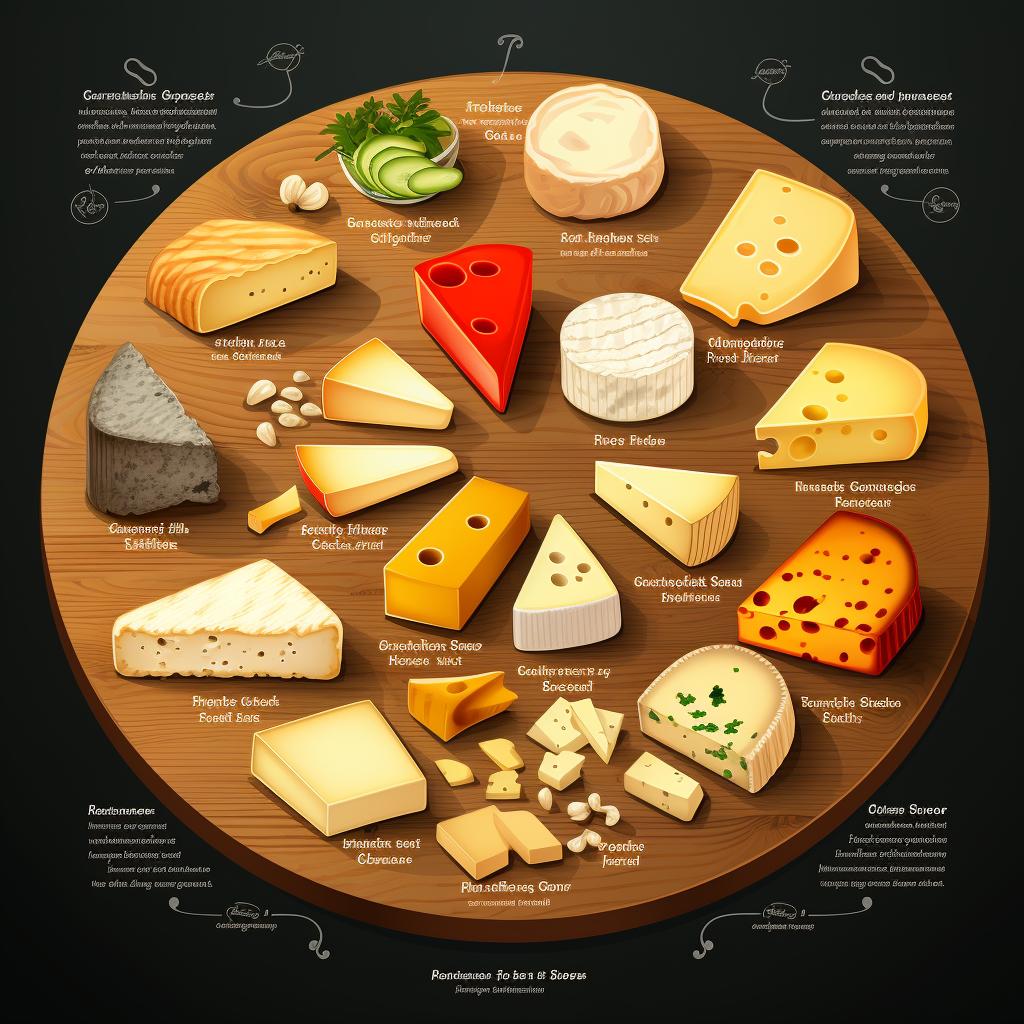
Now that you have your board, it's time to start arranging your cheeses. Begin with the larger pieces and then add the smaller ones. Make sure to space them out evenly to allow your guests to easily cut and enjoy each cheese. This step is where you can get creative and showcase a variety of flavors and textures.
Step 3: Add the Crackers
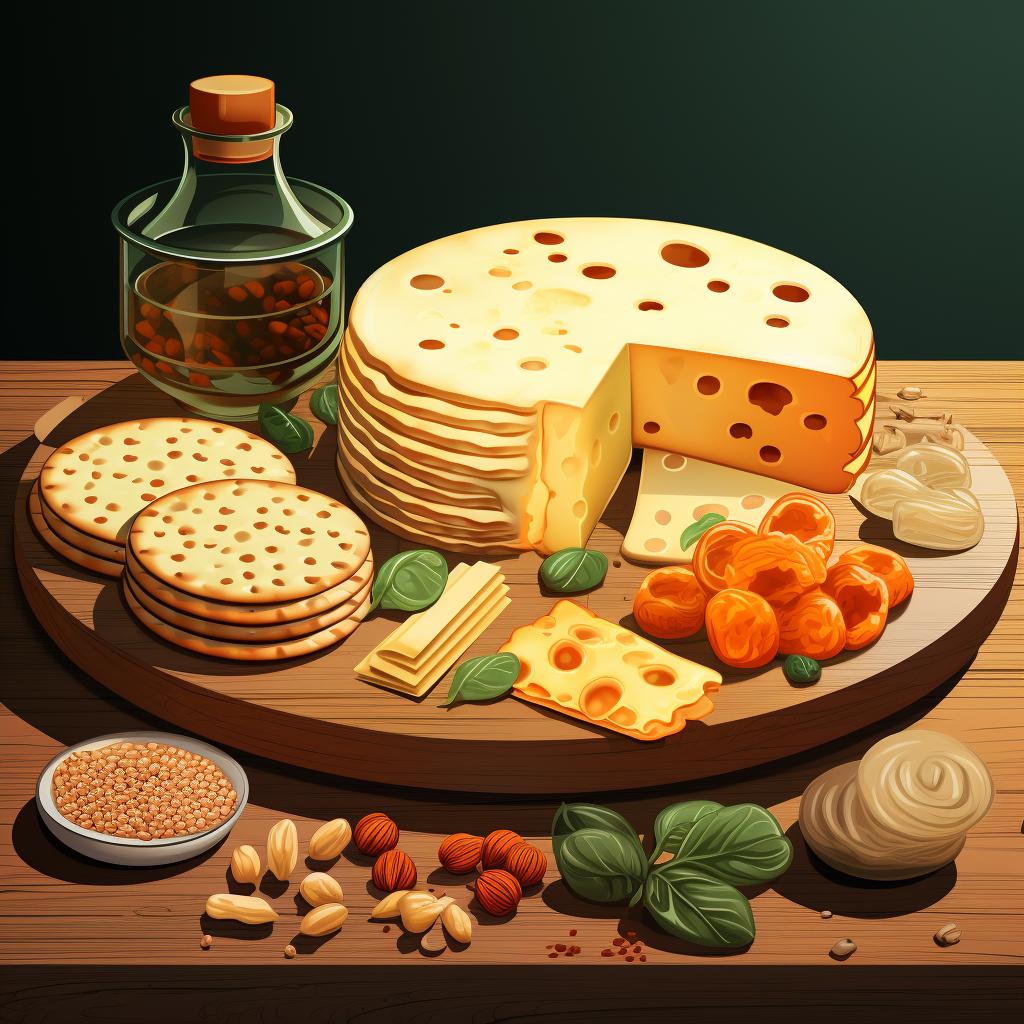
No cheese board is complete without crackers. Place them strategically around the cheeses, considering their ideal pairings. You can also create a separate cracker station if you prefer. The crackers not only provide a delicious base for the cheese but also add a satisfying crunch to each bite.
Step 4: Include Some Extras
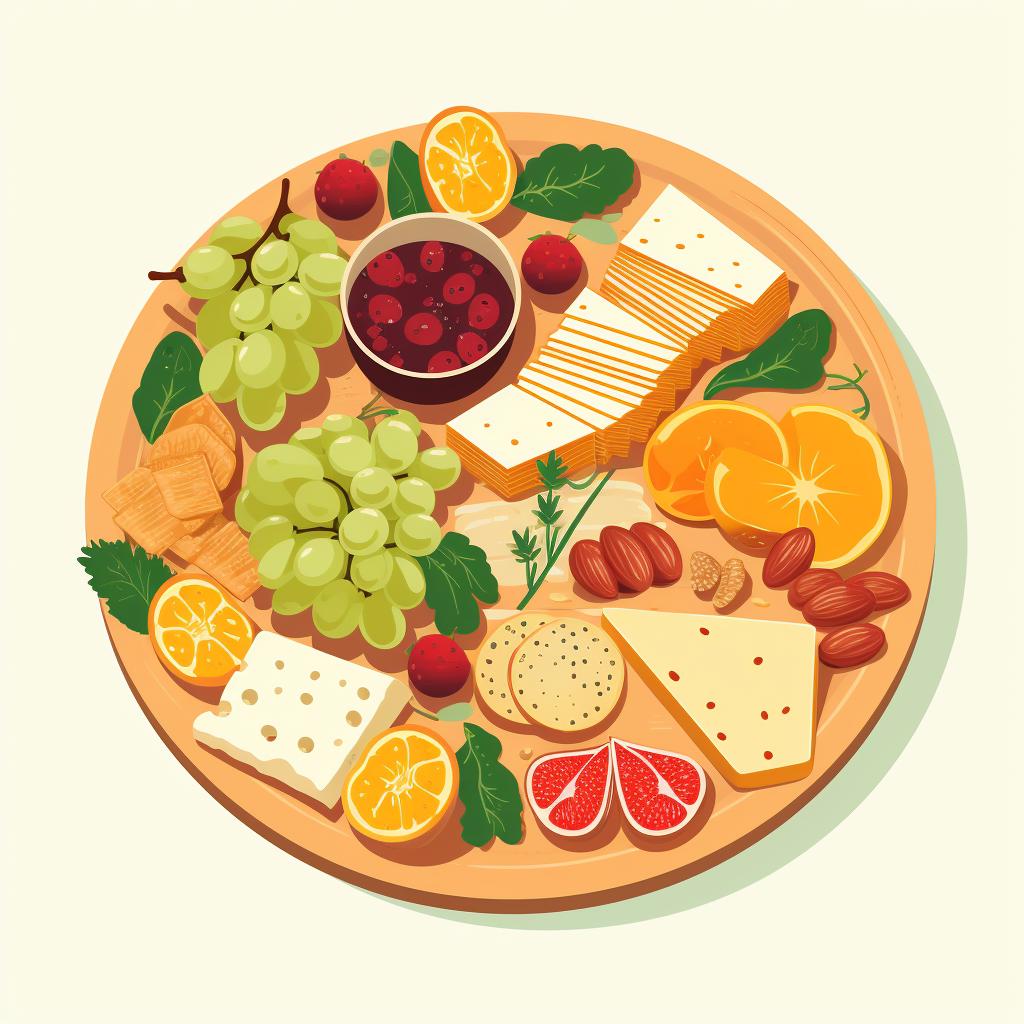
To elevate your cheese board even further, add some extras like fruits, nuts, or olives. Not only do these extras add a pop of color to your board, but they also provide additional flavors and textures. They can fill in any gaps and enhance the overall aesthetic of your presentation.
Step 5: Final Touches
To ensure your guests know what they're about to enjoy, consider adding labels to your cheese board, especially for more exotic cheeses. This small detail adds a touch of sophistication and allows everyone to appreciate the unique flavors and origins of each cheese.
Now that you've mastered the art of cheese and cracker presentation, it's time to indulge in the delicious world of cheese. At Cheesie, we offer a wide range of cheese slicers, knives, and graters to enhance your cheese experience. Explore our collection and discover the perfect tools to accompany your cheese board creations.
With Cheesie, you can elevate your cheese and cracker presentation to new heights. Impress your guests with visually stunning boards that are as delicious as they are beautiful. Get creative, experiment with different cheeses and pairings, and let your passion for cheese shine through. Happy cheesing!

